

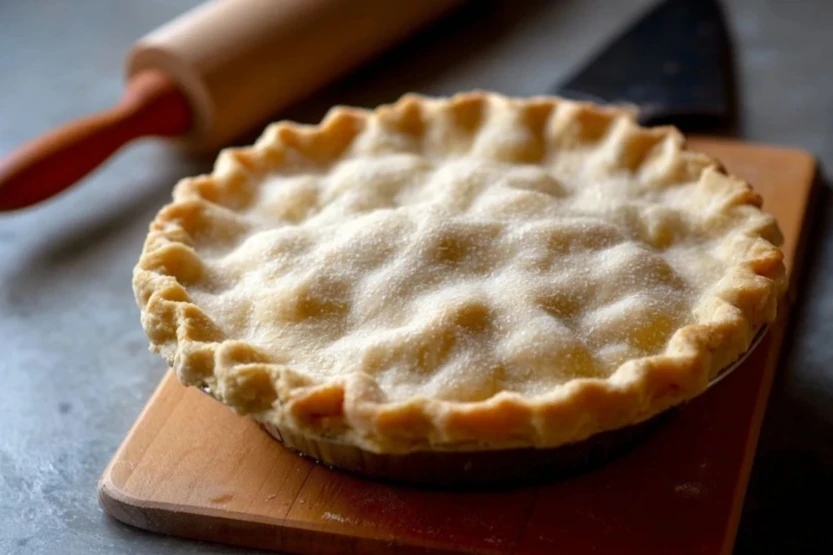
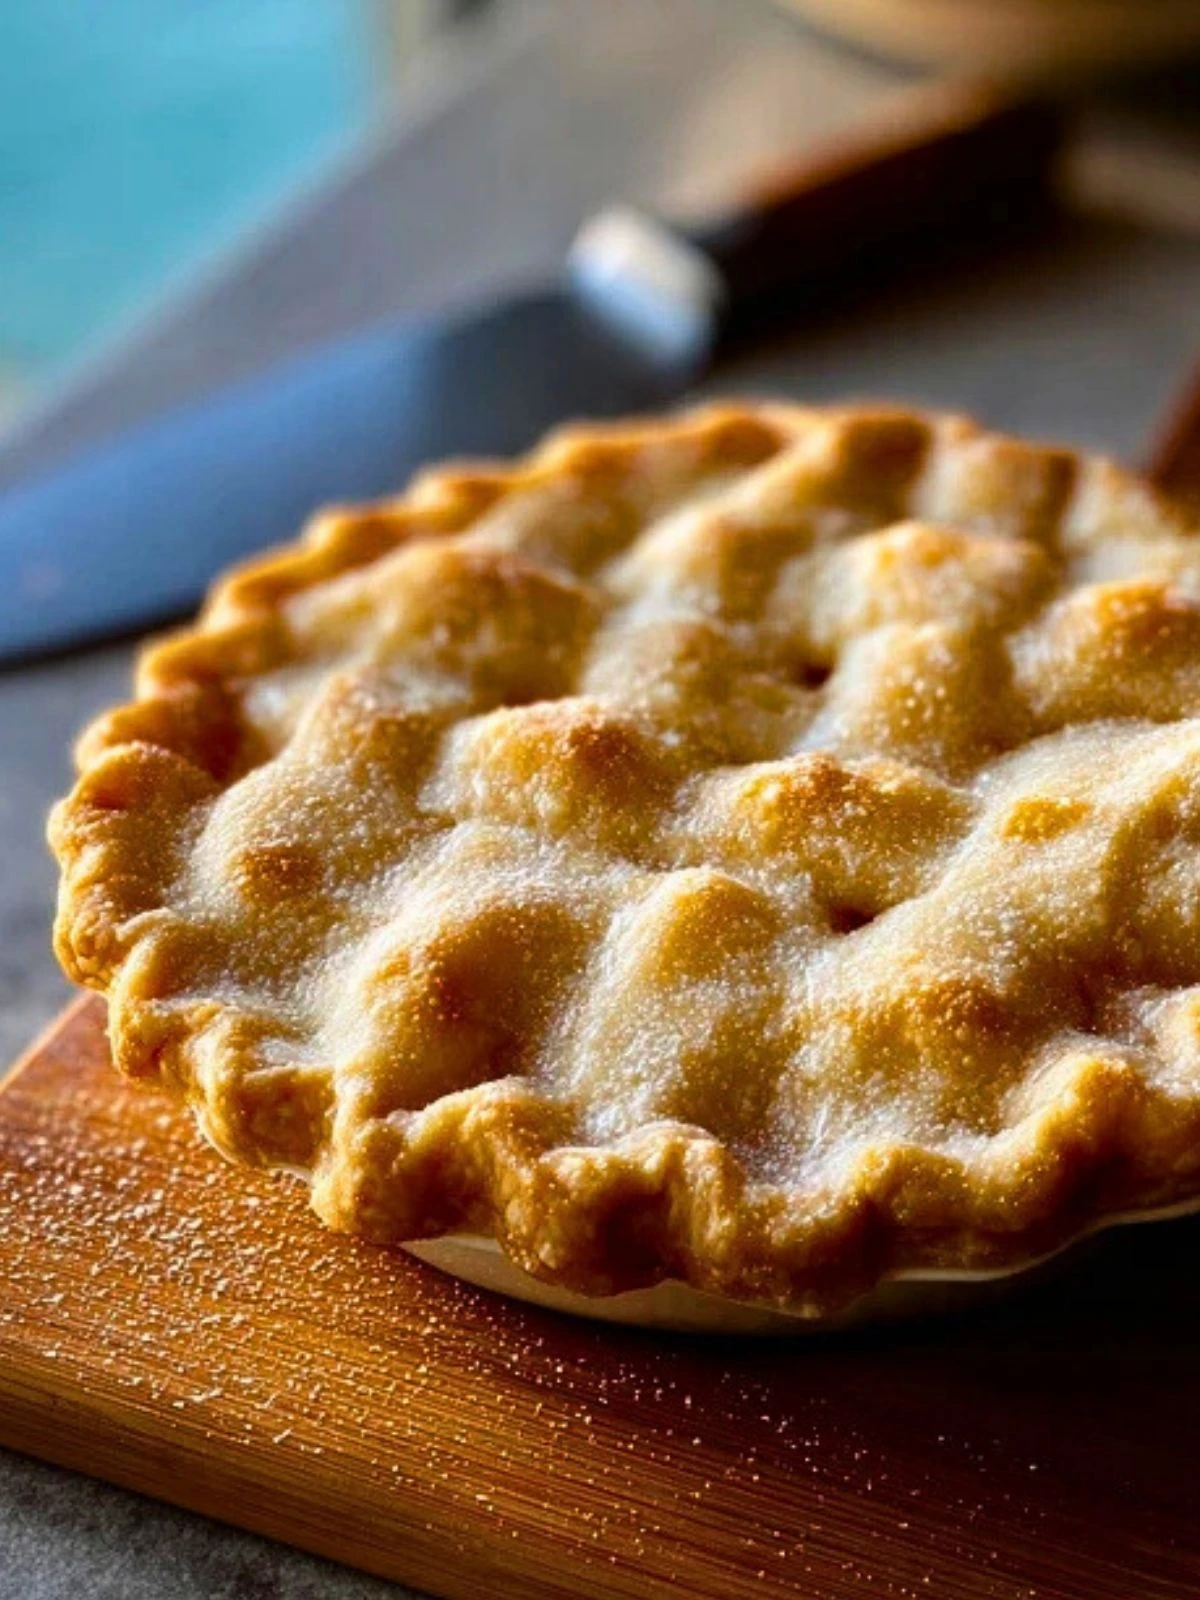
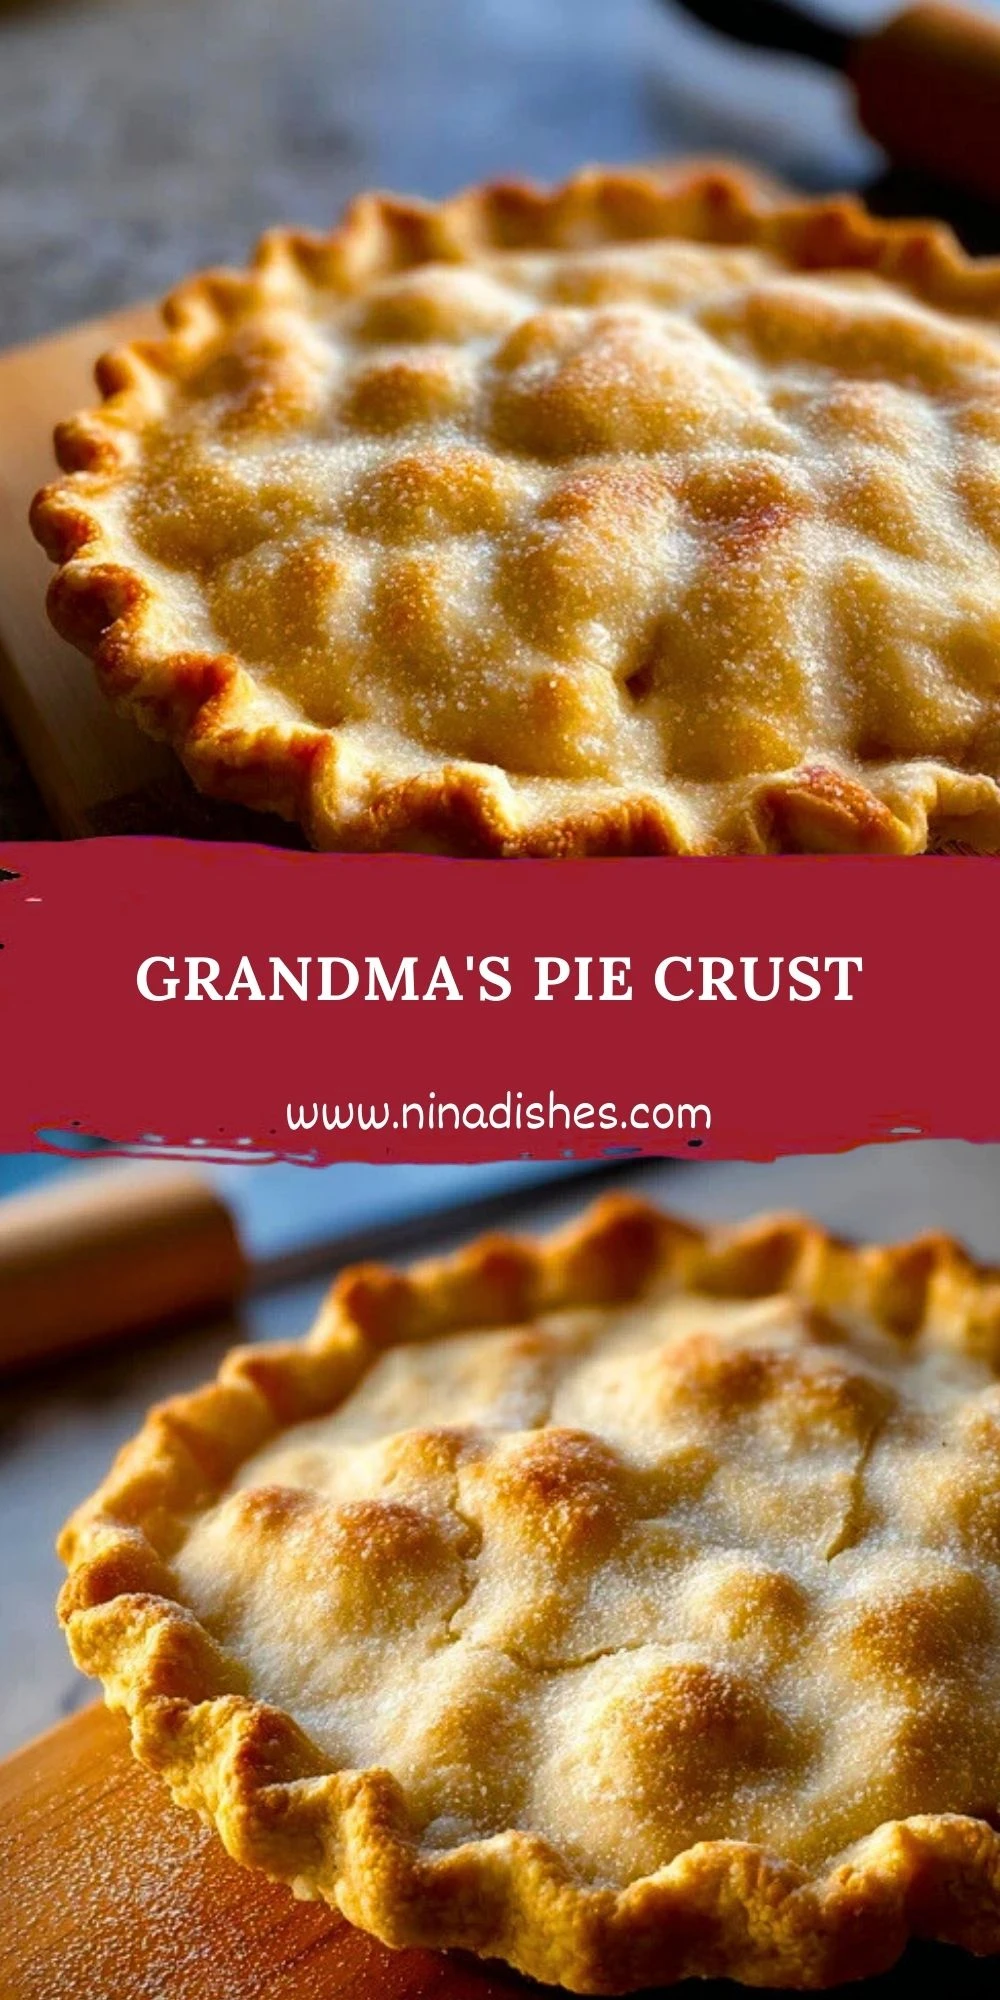
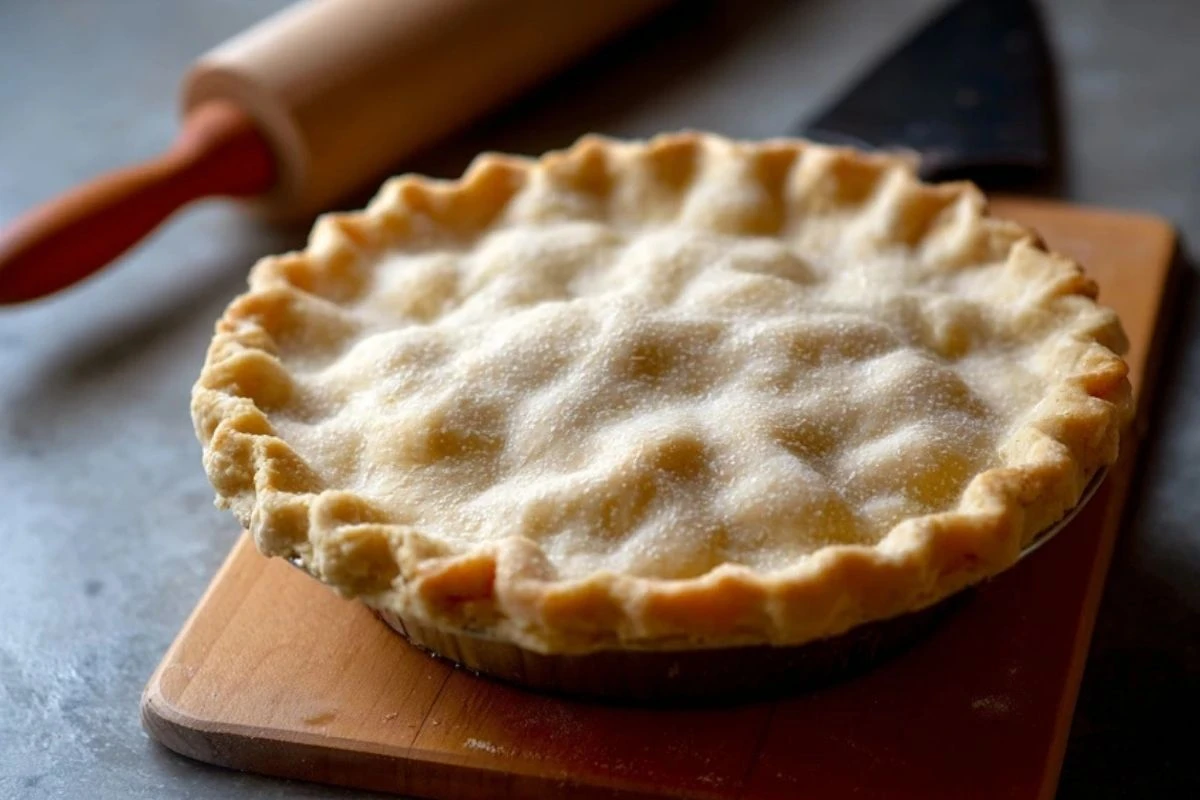
Few things feel more nostalgic and heartwarming than the smell of a freshly baked pie wafting through the kitchen. Grandma’s Pie Crust is a family treasure that transforms even the simplest fillings into an unforgettable dessert. Buttery, flaky, and tender, this crust is the golden foundation of every good pie—and it’s easier than you’d think to master.
This recipe uses everyday ingredients and a tried-and-true method that yields consistent results. Whether you’re baking a classic apple pie or experimenting with savory quiches, this crust is the versatile staple that never fails. Ready to bring a little homemade magic to your table?
What Kind of Fat Should I Use in Pie Crust?
Grandma swore by shortening for the flakiest texture, but butter adds unbeatable flavor. This recipe uses a mix of both for the perfect balance of tenderness and taste. If you prefer an all-butter crust or want to go the vegan route, both options are workable with slight texture differences.
Ingredients for the Grandma’s Pie Crust
- 2 1/2 cups all-purpose flour
- 1/2 cup unsalted butter, cold and cubed
- 1/2 cup vegetable shortening, cold and cubed
- 1 tsp salt
- 1 tbsp sugar (optional, but great for sweet pies)
- 6 to 8 tbsp ice water
How To Make the Grandma’s Pie Crust
Step 1: Combine Dry Ingredients
In a large mixing bowl, whisk together the flour, salt, and sugar.
Step 2: Cut in the Fats
Add the cold butter and shortening to the flour. Use a pastry cutter or your fingertips to work the fat into the flour until it resembles coarse crumbs with some pea-sized pieces.
Step 3: Add Ice Water
Drizzle in the ice water, 1 tablespoon at a time, stirring gently with a fork until the dough just comes together. Avoid overmixing.
Step 4: Chill the Dough
Divide the dough into two discs, wrap tightly in plastic wrap, and refrigerate for at least 1 hour (or up to 2 days).
Step 5: Roll Out
On a lightly floured surface, roll out one disc to fit your pie dish. Proceed with your pie recipe as needed.
Serving and Storing This Pie Crust
This pie crust works beautifully for both sweet and savory dishes. Use it as the base for fruit pies, meat pies, quiches, and pot pies. If you’re pre-baking the crust (blind baking), be sure to use pie weights to avoid puffing.
Store any unused dough wrapped tightly in the refrigerator for up to 2 days or freeze for up to 3 months. Baked crusts can also be frozen—perfect for prepping ahead of time.
Frequently Asked Questions
How do I keep my pie crust from shrinking?
Be sure not to stretch the dough when fitting it into the pie plate. Also, chilling the crust before baking helps it hold its shape.
Can I make this crust gluten-free?
Yes, substitute a gluten-free all-purpose flour blend. Keep in mind the texture may be slightly different.
Why is my dough crumbly or too dry?
You may need to add a little more ice water, one teaspoon at a time, just until the dough holds together.
Can I freeze the dough?
Absolutely. Wrap it well in plastic wrap and store in a freezer-safe bag. Thaw in the fridge overnight before using.
Is it better to use butter or shortening?
Butter gives flavor, while shortening creates a tender, flaky texture. This recipe blends both for the best of both worlds.
Want More Baking Basics and Classics?
If you love this nostalgic pie crust, you’ll want to explore more comforting and creative dishes:
- Baked Apple Empanadas for a handheld twist on pie.
- Cinnamon Donut Bread Recipe for a breakfast bake everyone loves.
- Irresistible Pecan Pie Bites for bite-sized holiday magic.
- Decadent Carrot Cake Bars with rich cream cheese frosting.
- Cherry Chocolate Cheesecake for a lush, layered dessert.
Save This Pin + Share Your Results
📌 Save this recipe to your Pinterest baking board so you’ll always have Grandma’s secret at your fingertips.
And tell me how your crust came out! Did you go with all butter? Try it in a quiche? I’d love to hear how you made it your own. Drop a comment below with your results or tips.
Want more daily kitchen inspiration? Follow me on Pinterest @NinaDishes for all my latest homemade favorites.
Grandma’s Pie Crust
- Total Time: 1 hour 15 minutes
- Yield: 2 pie crusts
- Diet: Vegetarian
Description
This classic pie crust is buttery, flaky, and incredibly easy to work with. Perfect for both sweet and savory pies, it’s a nostalgic recipe passed down from Grandma that never fails. Made with a blend of butter and shortening, it offers the ideal balance of flavor and tenderness.
Ingredients
2 1/2 cups all-purpose flour
1/2 cup unsalted butter, cold and cubed
1/2 cup vegetable shortening, cold and cubed
1 tsp salt
1 tbsp sugar (optional)
6 to 8 tbsp ice water
Instructions
1. In a large mixing bowl, whisk together the flour, salt, and sugar.
2. Add the cold butter and shortening to the flour. Use a pastry cutter or your fingers to blend until the mixture resembles coarse crumbs.
3. Drizzle in the ice water, one tablespoon at a time, gently mixing with a fork until the dough just holds together.
4. Divide the dough into two discs, wrap in plastic, and chill for at least 1 hour.
5. Roll out on a floured surface when ready to use in your favorite pie recipe.
Notes
Use cold butter and shortening for best flakiness.
Chilling the dough prevents shrinkage during baking.
If using for savory pies, skip the sugar.
- Prep Time: 15 minutes
- Cook Time: 0 minutes
- Category: Baking
- Method: No-bake
- Cuisine: American
Nutrition
- Serving Size: 1/8 of recipe
- Calories: 310
- Sugar: 0.5
- Sodium: 290
- Fat: 21
- Saturated Fat: 9
- Unsaturated Fat: 11
- Trans Fat: 1
- Carbohydrates: 26
- Fiber: 1
- Protein: 3
- Cholesterol: 25
Keywords: pie crust, flaky pie crust, easy pie dough, butter crust, homemade pie crust