


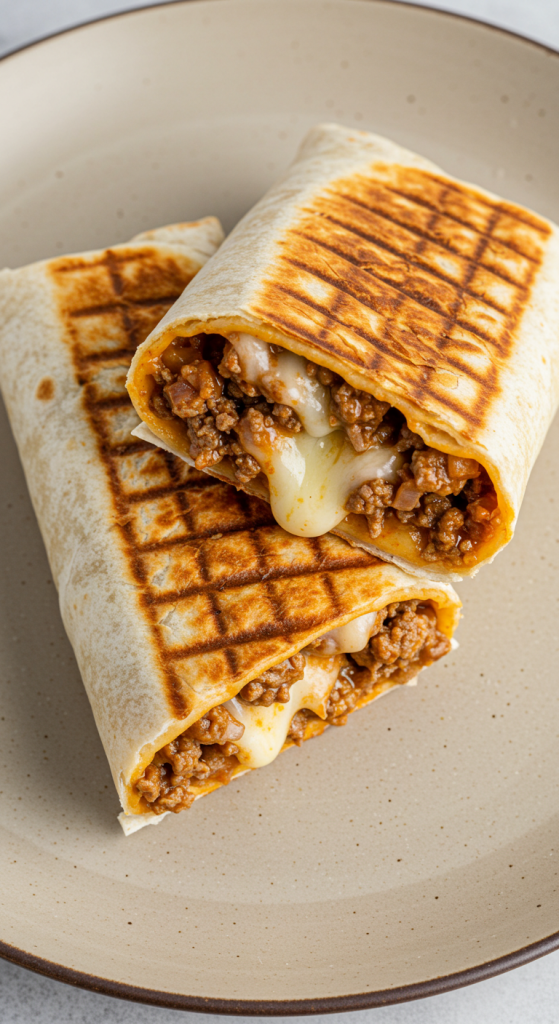
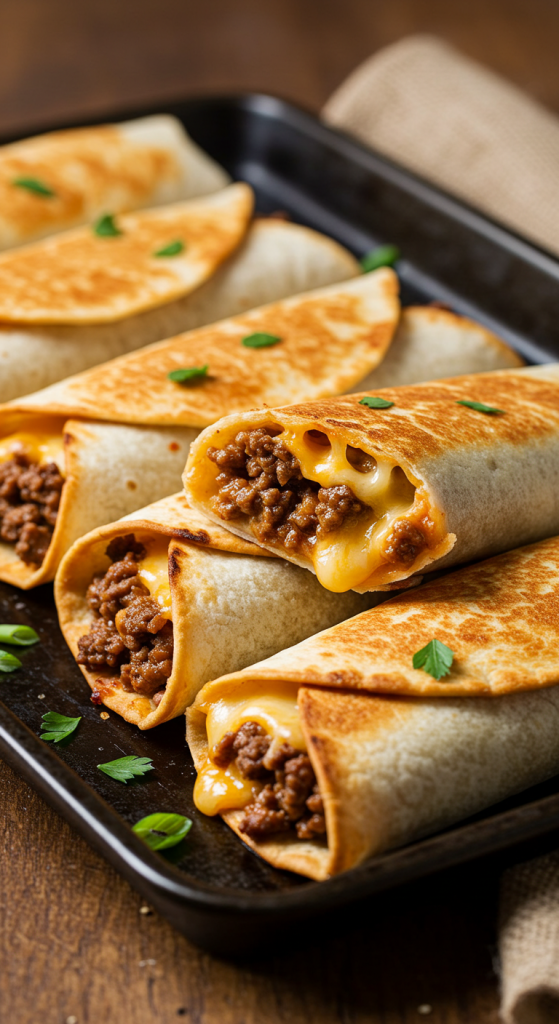
I can never say no to a cheesy, meaty wrap, and this Grilled Cheese Burrito has quickly climbed to the top of my list. I was inspired to recreate it after a late-night fast-food craving hit me hard, and let me tell you—it did not disappoint. This homemade version is even better, with gooey cheese, seasoned beef, and a crisp golden tortilla that’s pan-grilled to perfection.
The magic of this burrito lies in its texture and balance. Each bite starts with a crunchy exterior, leads into a soft, cheesy layer, and finishes with bold, savory beef. When I first made it, my family devoured every last one, and immediately asked for it again the next night. That, to me, is the sign of a winner.
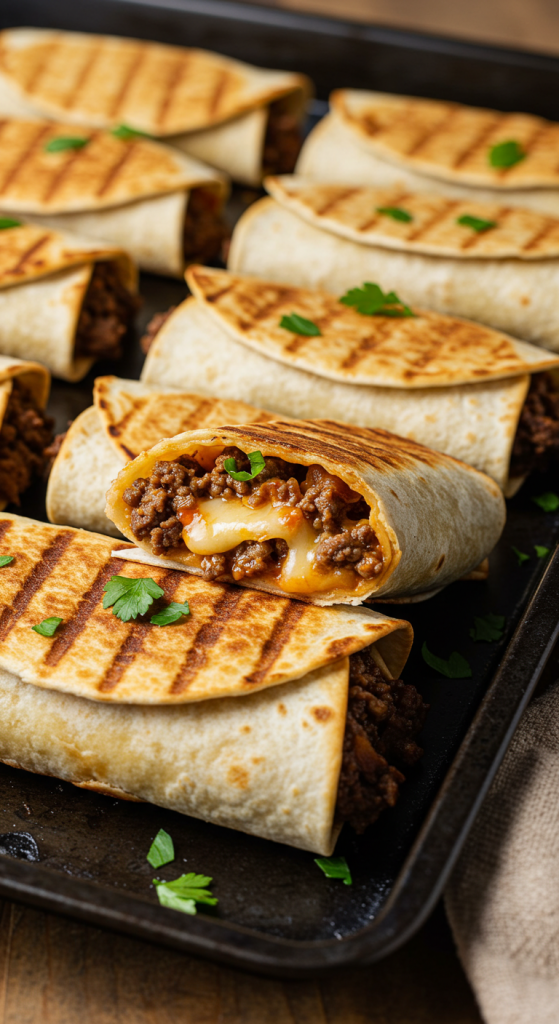
What’s also great is how simple and adaptable it is. Whether you’re planning an easy weeknight dinner or a fun meal prep session, this burrito fits the bill. It’s comforting, filling, and irresistibly good. If you enjoy this, you should also try my Buffalo Chicken Calzone or the Ultimate Taco Casserole for more cheesy, bold-flavored delights.
Why You’ll Love This Grilled Cheese Burrito Recipe
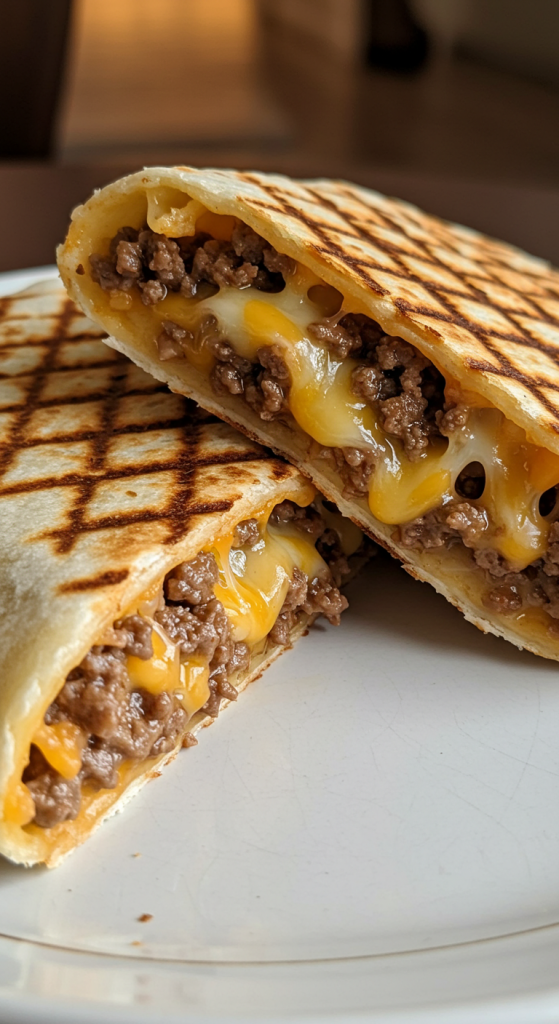
This recipe combines everything you love about a grilled cheese sandwich and a hearty burrito. You get the molten cheese, rich and melty, paired with seasoned ground beef wrapped in a flour tortilla that gets perfectly toasted. It’s easy to make, totally customizable, and even freezer-friendly. Whether you’re feeding picky eaters or spice lovers, you can tweak the fillings and sauces to match your taste.
How to Make the Grilled Cheese Burrito Recipe
Step 1: Prepare the Beef Filling
In a large skillet over medium heat, cook one pound of ground beef until it’s fully browned. Drain any excess fat, then add your favorite taco seasoning and a splash of water. Simmer until the beef is well-coated and fragrant.
Step 2: Make the Cheese Sauce
In a small saucepan, melt 2 tablespoons of butter, then whisk in 2 tablespoons of flour to create a roux. Slowly add 1 cup of milk, stirring constantly until thickened. Stir in 1 to 1½ cups of shredded cheddar cheese until melted and smooth.
Step 3: Assemble the Burritos
Lay out large flour tortillas. Spread a layer of cheese sauce down the center, add a scoop of the beef mixture, sprinkle on extra shredded cheese (a blend of Monterey Jack and cheddar works great), and add any extras like rice, sour cream, or beans if desired.
Step 4: Grill the Burritos
Fold the burritos tightly, then place them seam-side down in a non-stick skillet over medium heat. Grill each side until golden brown and crispy, about 2 to 3 minutes per side. Press slightly with a spatula to flatten and seal the edges.
Recipe Variations and Possible Substitutions
You can customize this burrito to match your cravings. Swap ground beef for ground turkey or shredded rotisserie chicken for a lighter version. Add jalapeños or hot sauce if you like heat. Skip the cheese sauce and use a slice of American cheese for a faster version, or replace it with queso for a creamier texture.
Veggie lovers can fill it with grilled peppers, onions, and black beans for a meatless twist. For a low-carb alternative, try using low-carb tortillas and lean meats. You can also make it dairy-free by using plant-based butter, milk, and cheese.
Serving and Pairing Suggestions
These grilled cheese burritos are rich and hearty, so I love to balance them out with something fresh. A zesty pico de gallo or a tangy cabbage slaw makes an ideal side. You can also serve them with a bowl of tortilla chips and guacamole, or a cooling avocado-lime crema for dipping.
For drinks, a cold Mexican soda, fresh limeade, or even a crisp lager pairs beautifully. If you’re turning this into a full dinner spread, add some cilantro-lime rice or a warm black bean salad.

Storage and Reheating Tips
These burritos are meal prep gold. Once cooled, wrap each one individually in foil or parchment, then store them in an airtight container in the fridge for up to 3 days. For longer storage, freeze them wrapped and then placed in a zip-top freezer bag.
To reheat, unwrap and microwave on a plate for 1 to 2 minutes, or place in a skillet over medium-low heat until heated through and crispy again. Avoid high heat to prevent the tortilla from burning before the inside warms up.
Frequently Asked Questions
How do I keep the burritos from falling apart?
Make sure to not overfill them, and always place them seam-side down in the skillet to start. Pressing lightly with a spatula helps seal them.
Can I make these ahead of time?
Absolutely. You can assemble and refrigerate them uncooked, then grill fresh. Or grill them all, cool, and store for reheating later.
What kind of cheese works best?
Cheddar melts beautifully and brings sharpness, while Monterey Jack adds a creamy smoothness. A blend works best for flavor and texture.
Are these spicy?
Not inherently, but you can spice them up by adding jalapeños, hot sauce, or pepper jack cheese to the filling.
Can I use store-bought cheese sauce?
Yes, that’s a great shortcut. Just heat it up before adding to the burrito to keep everything warm and melty.
Related Recipe You’ll Like
If this Grilled Cheese Burrito made you swoon, then get ready to bookmark a few more irresistible favorites. My Buffalo Chicken Calzone is a must-try for anyone who loves spicy, cheesy handhelds. Another cozy dinner idea is my Ultimate Taco Casserole, packed with the same bold Tex-Mex flavor in a baked, family-style dish. And don’t skip out on the Cheesy Pizza Bombs for a fun, bite-sized version of stuffed, melty magic.
For another easy dinner packed with layers of flavor, try my Creamy Garlic Chicken Breasts or the hearty Shipwreck Dinner. They make weeknight cooking feel exciting again.
Save and Share This Recipe for Later
Loved it? Don’t forget to save this Grilled Cheese Burrito recipe to your favorite Pinterest board so you can come back to it anytime! If you make it, tag me on Instagram and let me know how it turned out. Sharing is caring—send this to a friend who’s obsessed with cheesy burritos or post it in your favorite foodie group. Let’s spread the burrito love!
Grilled Cheese Burrito Recipe
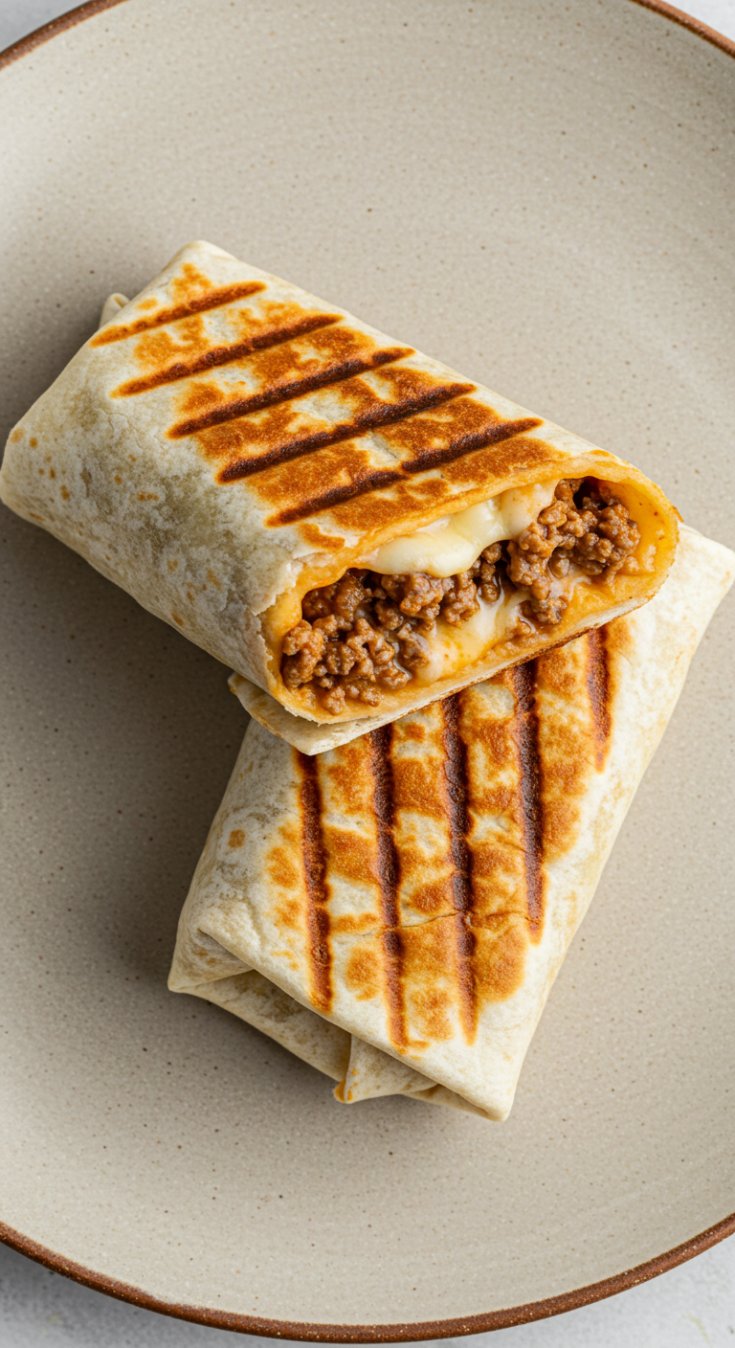
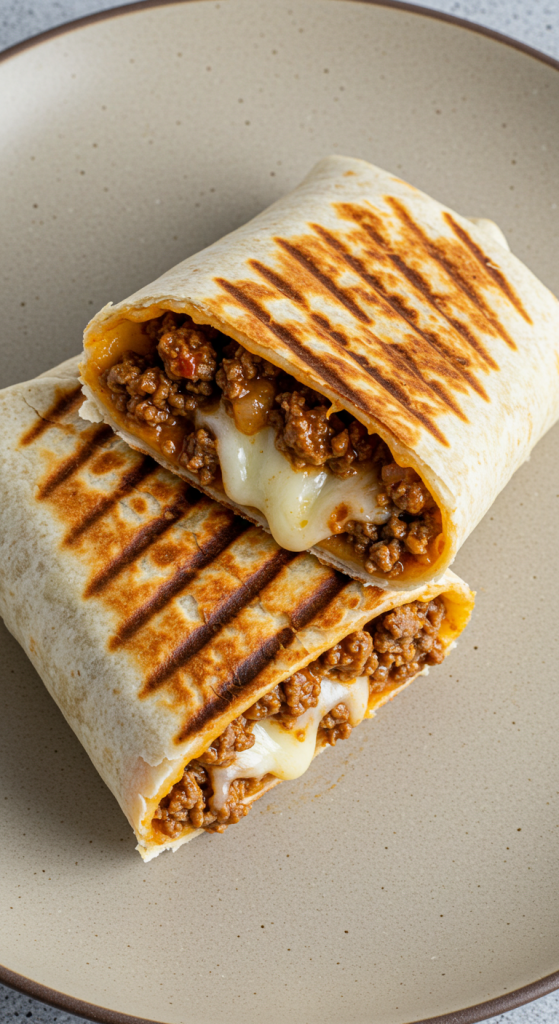
This Grilled Cheese Burrito recipe is a savory fusion of classic comfort food and bold Mexican flavors. It features seasoned ground beef, a creamy cheddar cheese sauce, and crispy grilled tortillas, making it the perfect handheld meal. Each bite is bursting with gooey cheese, zesty spice, and satisfying textures. It’s great for quick weeknight dinners, easy meal prep, or indulgent weekend cravings. Customizable and freezer-friendly, this recipe is a hit for the whole family and a must-try for cheese lovers.
Ingredients
- 1 lb ground beef
- 1 packet taco seasoning
- ⅓ cup water
- 2 tbsp butter
- 2 tbsp all-purpose flour
- 1 cup milk
- 1 to 1½ cups shredded cheddar cheese (for sauce)
- ½ cup shredded cheddar or Monterey Jack (for filling)
- 4 large flour tortillas
- Optional: cooked rice, black beans, sour cream, jalapeños
Instructions
- In a skillet, cook the ground beef over medium heat until browned. Drain fat.
- Stir in taco seasoning and water. Simmer until thickened, then remove from heat.
- In a small saucepan, melt butter, whisk in flour, and cook for 1 minute.
- Slowly add milk, whisking until thickened.
- Stir in shredded cheddar cheese until melted and smooth.
- Lay out tortillas. Spread cheese sauce, add beef, sprinkle extra cheese, and any optional toppings.
- Fold burritos tightly.
- Heat a skillet over medium heat. Place burritos seam-side down and grill until golden brown on both sides, pressing with a spatula.
Notes
- Use ground turkey or chicken as a lighter meat option.
- Substitute queso or pre-made cheese sauce for convenience.
- Add jalapeños, hot sauce, or pepper jack cheese for heat.
- Store in fridge up to 3 days or freeze up to 2 months.
- Reheat in microwave or skillet for best results.
