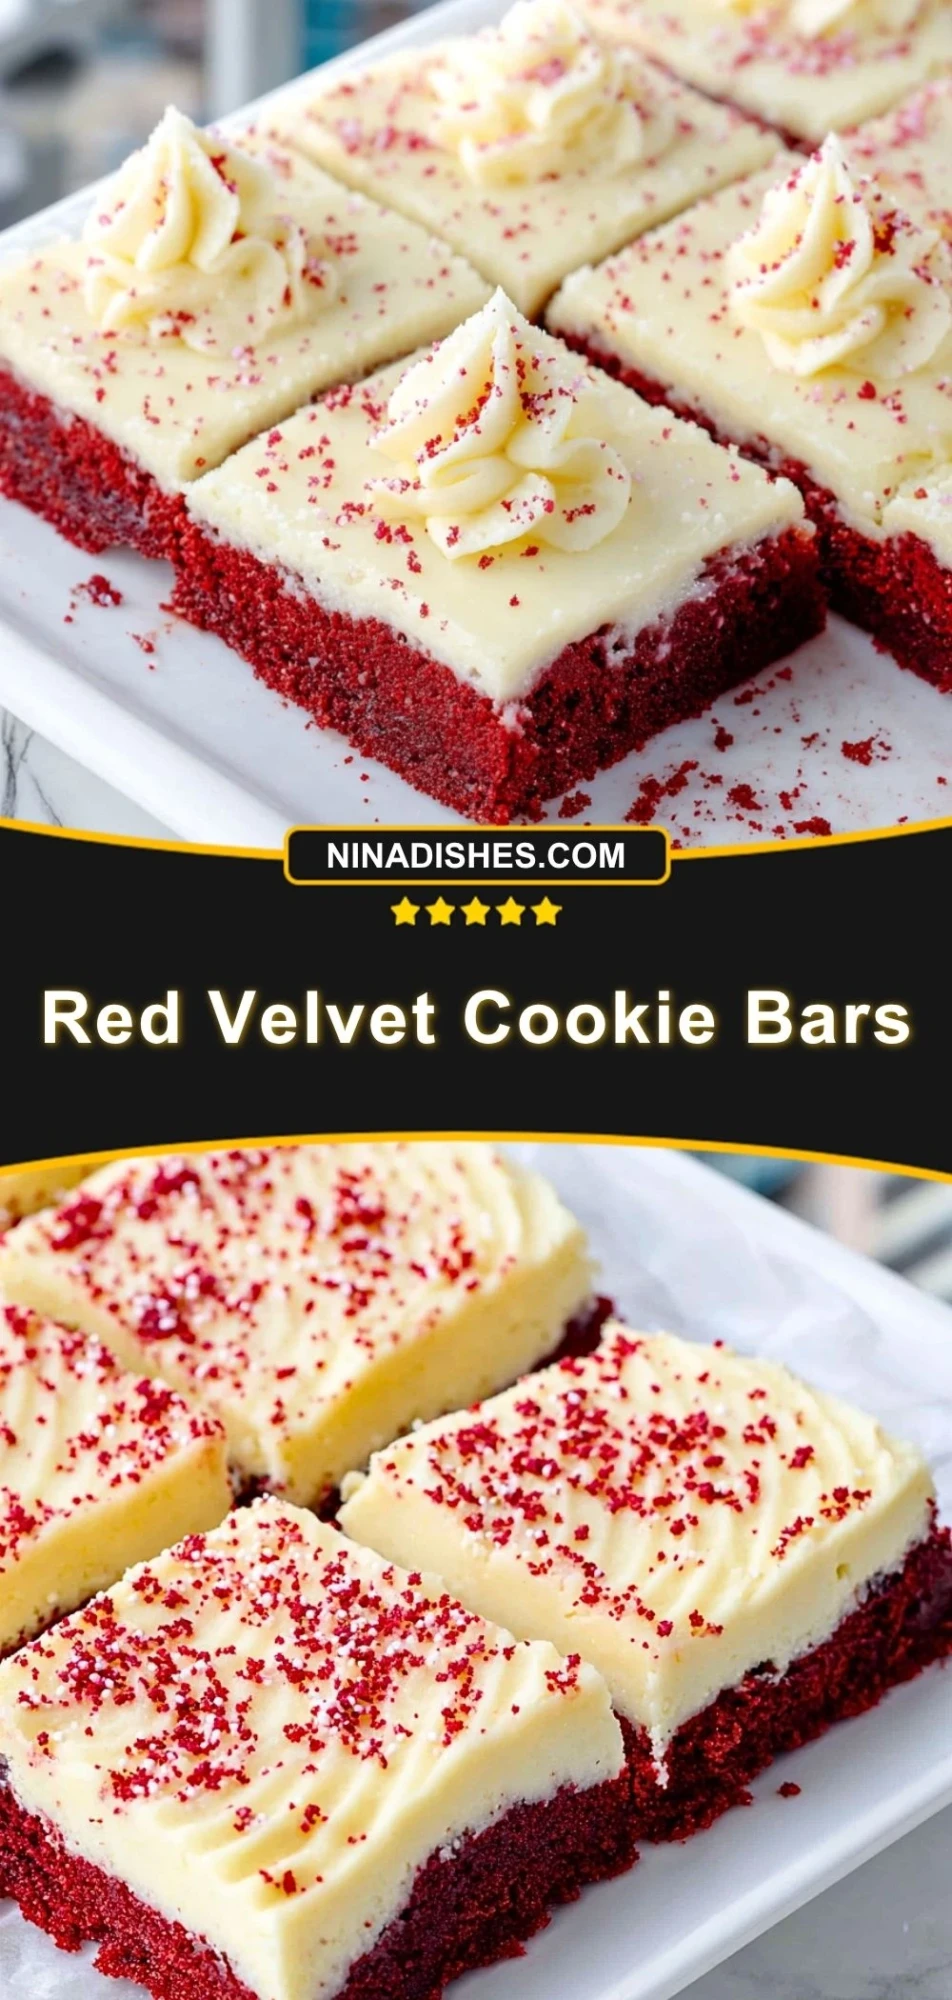


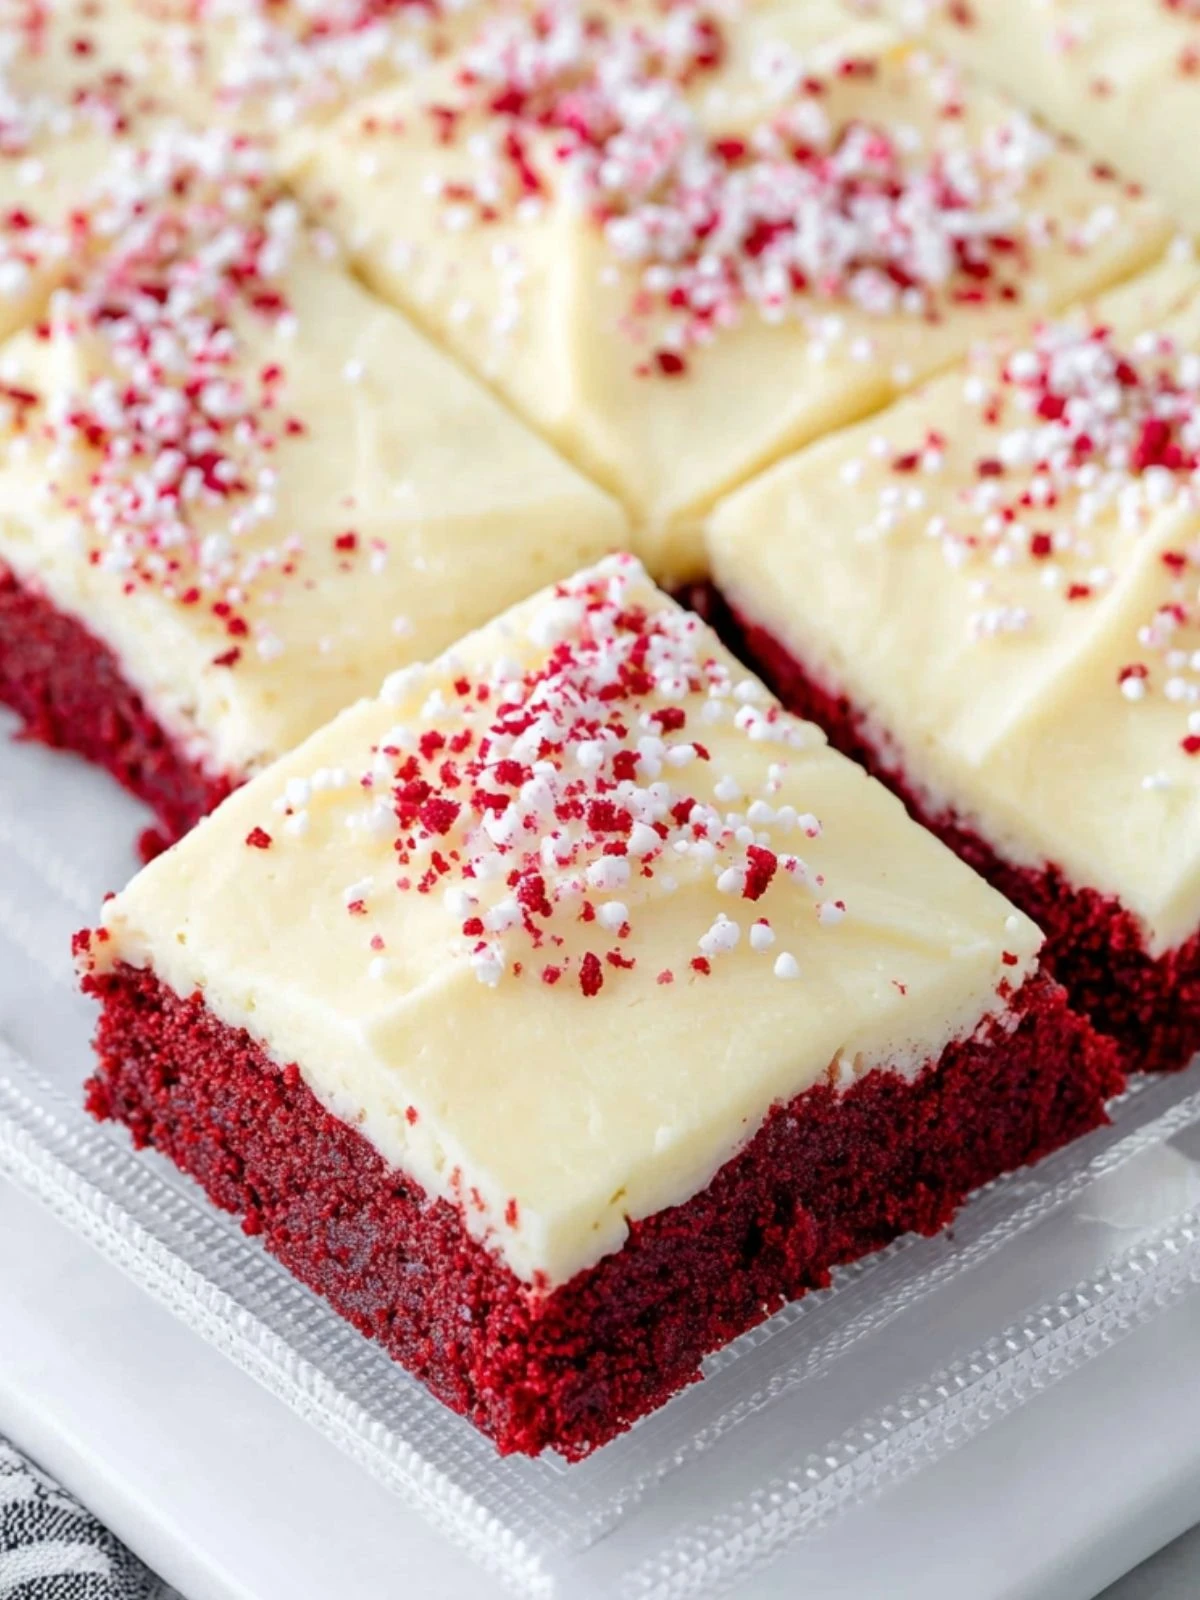
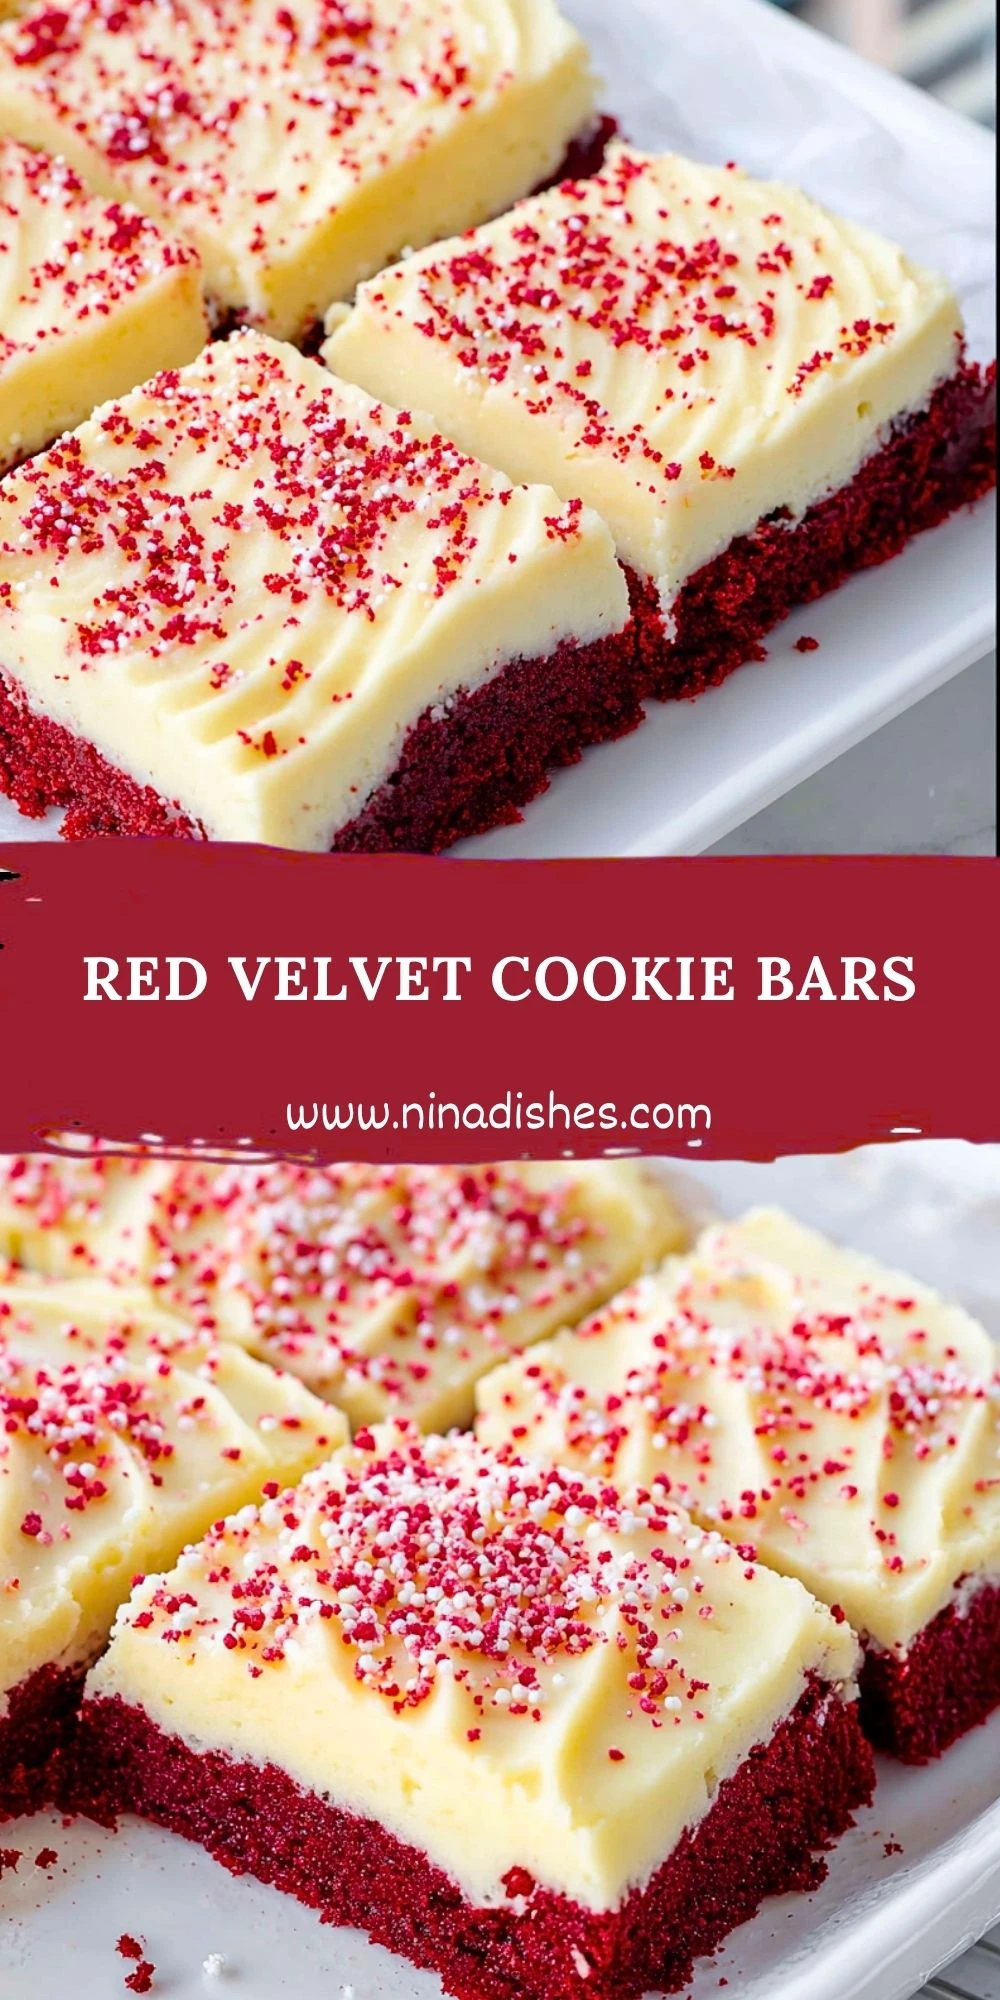
Red Velvet Cookie Bars are the kind of dessert that look bakery-worthy but come together with the comfort of a homemade treat. They have that classic red velvet charm with a soft, chewy center, lightly crisp edges, and just the right balance of cocoa and vanilla in every bite.
What makes these bars especially lovable is how easy they are to serve and share. Instead of scooping and baking individual cookies, you press the dough into one pan, bake it all at once, and slice it into rich, festive squares that feel perfect for holidays, bake sales, birthdays, or an ordinary afternoon that needs something sweet.
Why Are Red Velvet Cookie Bars So Good?
Red Velvet Cookie Bars stand out because they combine the flavor of a classic red velvet dessert with the ease of a bar cookie. You get a tender texture, a subtle cocoa taste, and a beautiful deep red color that makes them feel a little special without needing complicated steps. They are also easy to customize with white chocolate chips, cream cheese drizzle, or festive sprinkles.
Ingredients for the Red Velvet Cookie Bars
- 2 1/4 cups all-purpose flour
- 2 tablespoons unsweetened cocoa powder
- 1 teaspoon baking powder
- 1/2 teaspoon salt
- 3/4 cup unsalted butter, softened
- 1 cup granulated sugar
- 1/2 cup light brown sugar
- 2 large eggs
- 1 tablespoon vanilla extract
- 1 teaspoon white vinegar
- 1 tablespoon red food coloring
- 1 cup white chocolate chips
How To Make the Red Velvet Cookie Bars
Step 1: Prepare the Pan and Oven
Preheat your oven to 350°F. Line a 9×13-inch baking pan with parchment paper or lightly grease it so the bars release easily after baking.
Step 2: Mix the Dry Ingredients
In a medium bowl, whisk together the flour, cocoa powder, baking powder, and salt. Set this mixture aside so it is ready to add later.
Step 3: Cream the Butter and Sugars
In a large mixing bowl, beat the softened butter, granulated sugar, and brown sugar until the mixture looks light and fluffy. This step helps create a soft and chewy texture.
Step 4: Add the Wet Ingredients
Beat in the eggs one at a time. Mix in the vanilla extract, white vinegar, and red food coloring until the dough turns evenly colored and smooth.
Step 5: Combine Wet and Dry Mixtures
Gradually add the dry ingredients to the wet mixture. Stir just until no dry streaks remain. Fold in the white chocolate chips evenly so every slice gets a little sweetness.
Step 6: Press into the Pan
Spread the dough evenly into the prepared pan. Use a spatula or lightly damp fingers to press it into the corners so it bakes evenly.
Step 7: Bake Until Just Set
Bake for 22 to 28 minutes, or until the top looks set and a toothpick inserted near the center comes out with a few moist crumbs. Do not overbake if you want soft bars.
Step 8: Cool and Slice
Let the bars cool completely in the pan before lifting them out and slicing into squares or rectangles. This helps them hold their shape and keeps the texture tender.
Serving and Storing Red Velvet Cookie Bars
These bars are delicious served on their own, but they also pair beautifully with a glass of milk, a cup of coffee, or a scoop of vanilla ice cream. For a more decadent finish, add a light cream cheese glaze or a drizzle of melted white chocolate after the bars have cooled.
Store Red Velvet Cookie Bars in an airtight container at room temperature for up to 4 days. If your kitchen runs warm, you can refrigerate them for up to 1 week and let them sit at room temperature for a few minutes before serving. They also freeze well for up to 2 months when wrapped tightly.
Frequently Asked Questions
Can I use gel food coloring instead of liquid?
Yes, gel food coloring works well and often gives a deeper color with a smaller amount. Add it gradually until you get the shade you want.
Can I make these without white chocolate chips?
Absolutely. The bars are still delicious without them, or you can swap in chocolate chips, chopped pecans, or leave the dough plain.
How do I know when the bars are done?
The edges should look set and the center should no longer look wet. A toothpick should come out with a few moist crumbs, not raw batter.
Can I double this recipe?
Yes, but it is best to bake it in two separate pans for even results unless you are using a larger sheet pan and adjusting the baking time carefully.
Do these taste like cake or cookies?
They are closer to a chewy cookie bar than a cake. The texture is soft and rich with a slightly dense bite.
Want More Dessert Ideas?
If you love Red Velvet Cookie Bars, you might also enjoy these sweet favorites from Nina Dishes:
- Sopapilla Cheesecake Bars for another easy bar dessert with a creamy center.
- Bisquick Chocolate Chip Cookies when you want a quick cookie fix.
- Pistachio Cheesecake Brownies for a rich and colorful dessert bar.
- Lemon Sugar Cookies when you want something bright and citrusy.
- Chocolate Peanut Butter Dream Bars for a layered treat with plenty of indulgence.
For even more daily recipe inspiration, take a look at Nina Dishes on Pinterest: Nina Dishes Pinterest.
Save This Pin + Share Your Results
📌 Save this recipe to your Pinterest dessert board so you can come back to it any time.
And let me know how your Red Velvet Cookie Bars turned out. Did you add extra white chocolate chips, a cream cheese drizzle, or colorful sprinkles for a festive finish?
I love hearing how others make these recipes their own. Questions are always welcome too, and sharing your results may help someone else bake them even better.

Red Velvet Cookie Bars
- Total Time: 10 minutes
- Yield: Frosting for 12 cupcakes or 1 9-inch cake
- Diet: Vegetarian
Description
This marshmallow frosting is soft, fluffy, and full of sweet vanilla-marshmallow flavor. It comes together quickly and makes an easy topping for cupcakes, cakes, brownies, and cookie bars when you want a light, creamy finish.
Ingredients
1 cup unsalted butter, softened
2 cups marshmallow creme
2 cups powdered sugar
1 teaspoon vanilla extract
1 pinch salt
1 to 2 tablespoons heavy cream
Instructions
1. Beat the softened butter in a large mixing bowl for 2 to 3 minutes until pale and creamy.
2. Add the marshmallow creme and mix until smooth and fully combined.
3. Add the powdered sugar, vanilla extract, and salt. Mix on low speed at first, then increase to medium speed until thick and creamy.
4. Add heavy cream, 1 tablespoon at a time, if needed to loosen the frosting to your desired consistency.
5. Beat for 1 to 2 more minutes until light and fluffy, then use immediately on fully cooled desserts.
Notes
Use fully softened butter so the frosting blends smoothly without lumps.
Always frost completely cooled desserts so the marshmallow frosting keeps its fluffy texture.
For a slightly firmer frosting, chill it for 10 to 15 minutes before piping.
- Prep Time: 10 minutes
- Cook Time: 0 minutes
- Category: Frosting
- Method: Mixing
- Cuisine: American
Nutrition
- Serving Size: 2 tablespoons
- Calories: 168
- Sugar: 19g
- Sodium: 28mg
- Fat: 9g
- Saturated Fat: 5g
- Unsaturated Fat: 3g
- Trans Fat: 0g
- Carbohydrates: 22g
- Fiber: 0g
- Protein: 0g
- Cholesterol: 20mg
Keywords: marshmallow frosting, frosting for cupcakes, fluffy frosting, easy dessert frosting