


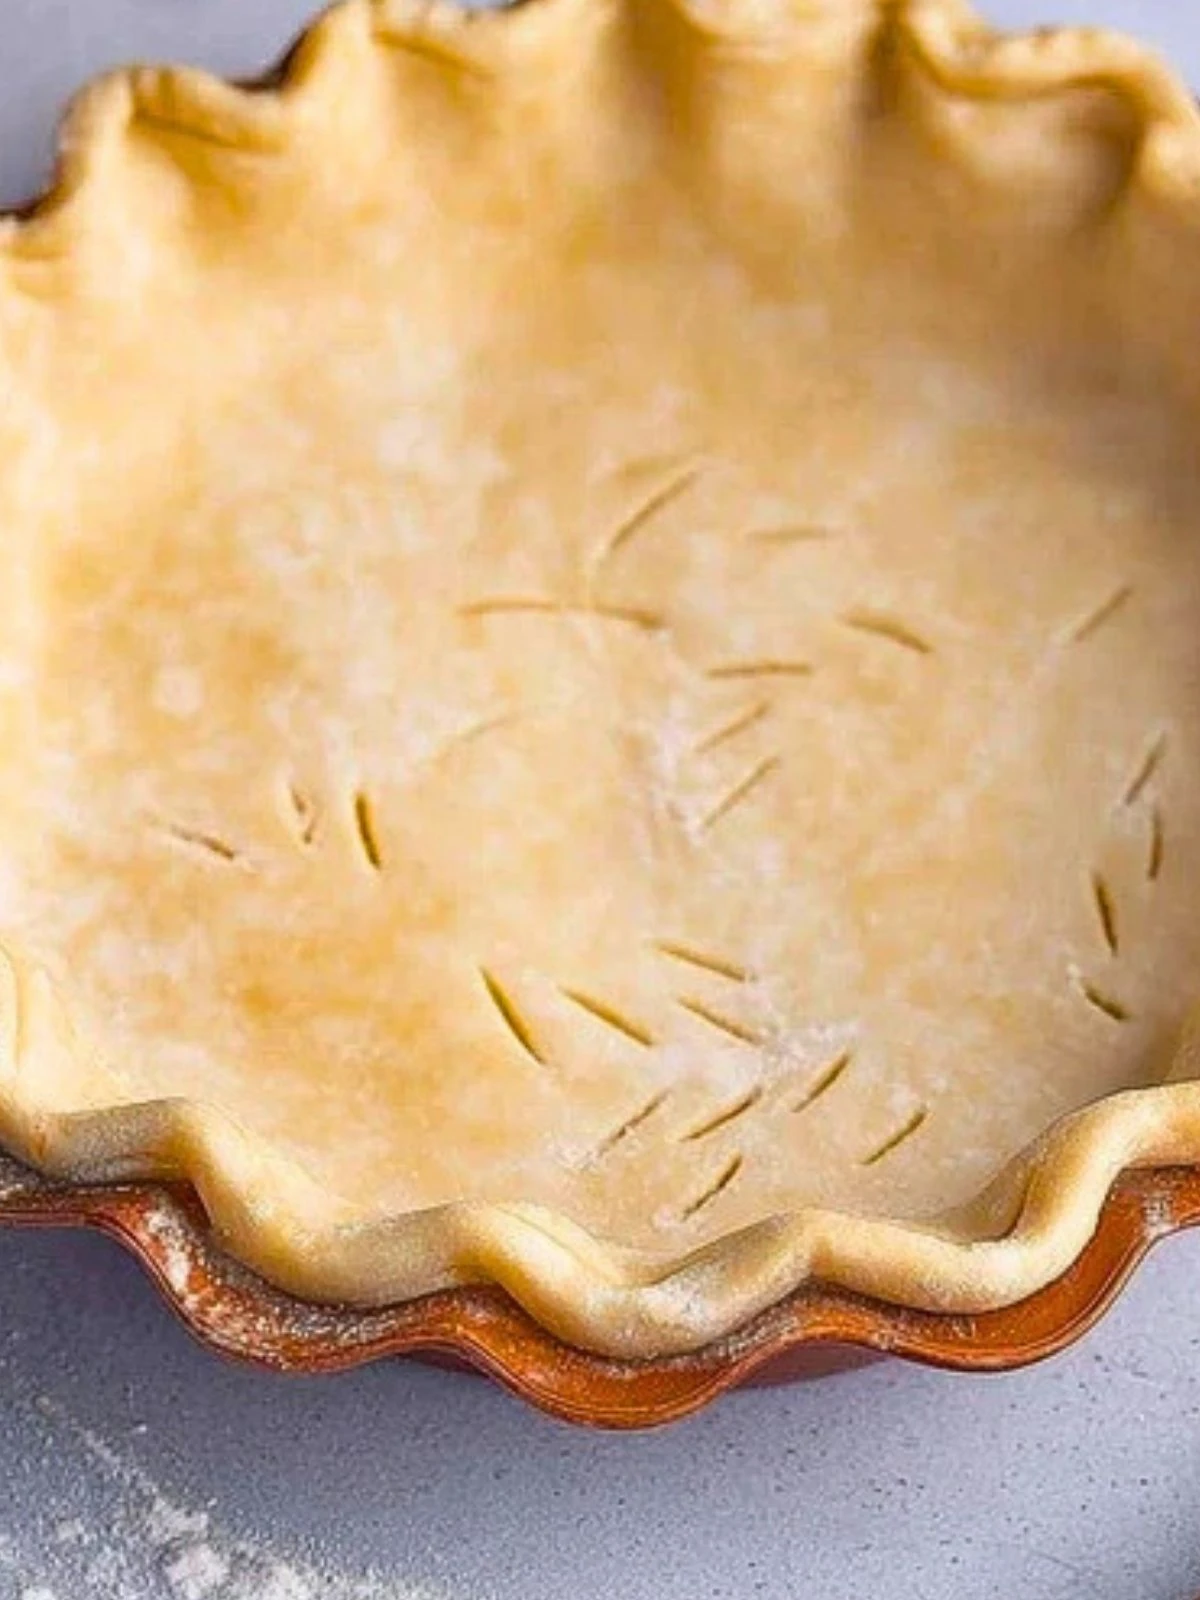
When it comes to homemade pies, nothing beats a buttery, crisp, and flaky crust that practically shatters with each forkful. The kind of crust that wraps your fillings in a golden embrace and leaves everyone wondering if you picked it up from a boutique bakery. That’s the magic of this pie crust—and the best part? You can make it right in your own kitchen.
With just a few pantry staples and the right technique, you’ll learn how to create a pie dough that layers like puff pastry and tastes like a dream. This crust doesn’t just hold your pie together—it steals the show. Whether you’re making fruit pies, quiches, or savory pot pies, this versatile crust brings bakery-level quality to your table.
What Kind of Butter Should I Use?
For the flakiest texture and rich flavor, unsalted butter is your best friend. Look for high-fat European-style butter (at least 82% butterfat), which has less water and more richness. Freezing the butter before incorporating it into the dough is key—it helps create those dreamy layers.
Ingredients for the Flakiest Bakery-Style Pie Crust
- 2 1/2 cups all-purpose flour
- 1 teaspoon salt
- 1 tablespoon sugar (optional, for sweet pies)
- 1 cup unsalted butter, cold and cut into cubes
- 1/2 cup ice water (plus more as needed)
How To Make the Flakiest Bakery-Style Pie Crust
Step 1: Mix the Dry Ingredients
In a large bowl, whisk together the flour, salt, and sugar (if using). This evenly distributes the salt and sweetens the dough slightly for dessert pies.
Step 2: Cut in the Butter
Add the cold butter cubes and use a pastry cutter or your fingers to blend it into the flour until the mixture resembles coarse crumbs with pea-sized bits of butter.
Step 3: Add Ice Water
Drizzle in the ice water a tablespoon at a time, gently mixing with a fork until the dough begins to clump. Avoid over-mixing.
Step 4: Bring It Together
Turn the dough onto a lightly floured surface and press it together just until it forms a ball. Divide in half, shape into discs, wrap in plastic, and refrigerate for at least 1 hour.
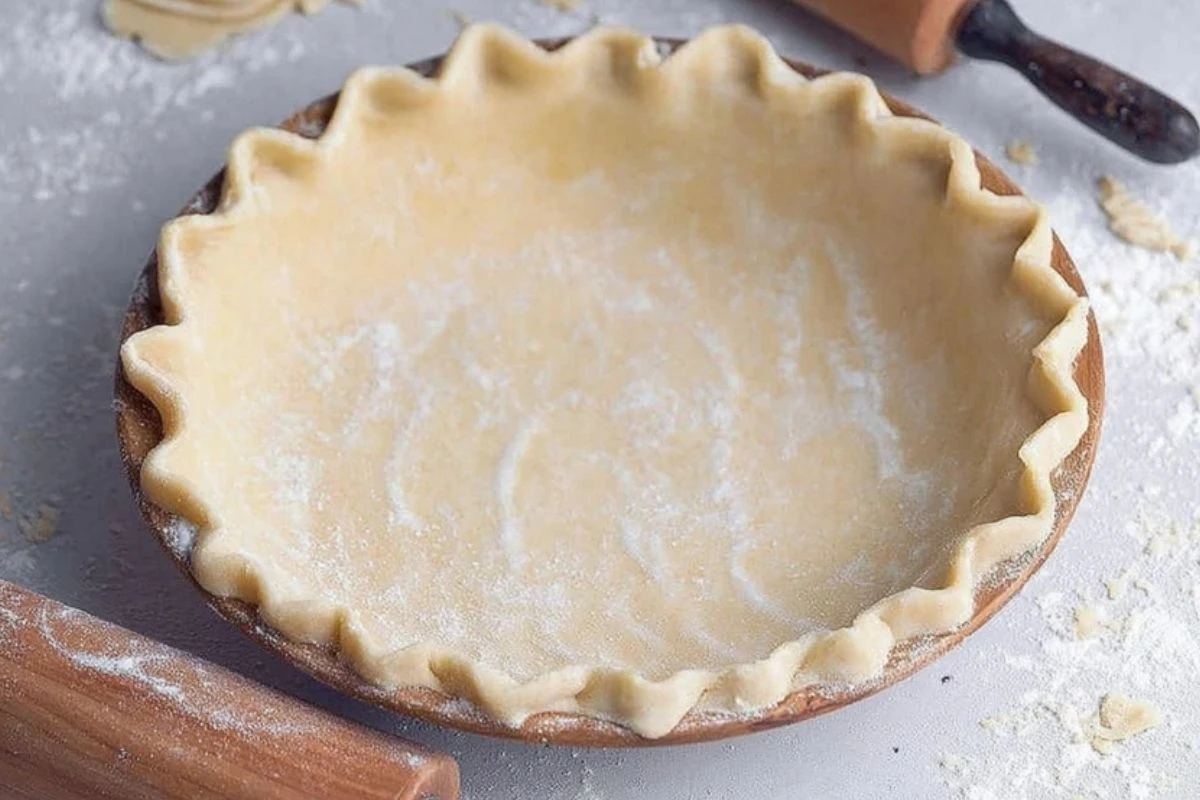
Step 5: Roll and Use
Roll out the chilled dough on a floured surface to fit your pie dish. Proceed with baking according to your pie recipe.
How to Serve and Store Your Flakiest Pie Crust
Once baked, this crust stays crisp and tender for days. If you’re using it for a fruit pie, allow it to cool completely before slicing to help the filling set. For cream or custard pies, pre-bake (blind bake) the crust and let it cool before adding your filling.
To store unbaked dough: keep it wrapped in the fridge for up to 3 days or freeze for up to 3 months. Baked crusts can be kept at room temperature for up to 2 days or refrigerated for longer freshness.
Frequently Asked Questions
How do I keep my pie crust from shrinking?
Make sure the dough rests in the fridge, and don’t stretch it when placing it in the pie pan. Use pie weights if blind baking.
Can I use a food processor?
Yes! Just pulse the dry ingredients and butter, then add water gradually until the dough comes together.
What if I don’t have pie weights?
Use dried beans or rice as a substitute. Just line the crust with parchment paper first.
Why is my crust tough instead of flaky?
Overworking the dough or adding too much water can make it tough. Handle it gently and stop mixing once it just holds together.
Can I make this dough ahead of time?
Absolutely. It’s actually better if it rests overnight in the fridge. Just let it warm slightly before rolling.
Want More Baking Basics?
If mastering pie crusts has you excited, you’ll love diving into more baking favorites:
- Try the Sopapilla Cheesecake Bars for a sweet, cinnamon-layered twist.
- Need something fruity? These Cherry Chocolate Cheesecake bars hit the perfect balance.
- For a dreamy weekend brunch, go for Nutella French Toast Casserole.
- Make bite-sized wonders with Irresistible Pecan Pie Bites.
- Or switch it up with soft, sugary Cinnamon Donut Bread.
Save This Pin + Share Your Results
📌 Save this recipe to your Pinterest baking board so it’s always within reach.
Let me know how your crust turned out! Did you go savory or sweet? Did you try a lattice or crimped edge? Drop a comment below and inspire someone else’s next bake.
You can also follow along with my daily recipe adventures over on Pinterest – Nina Dishes.
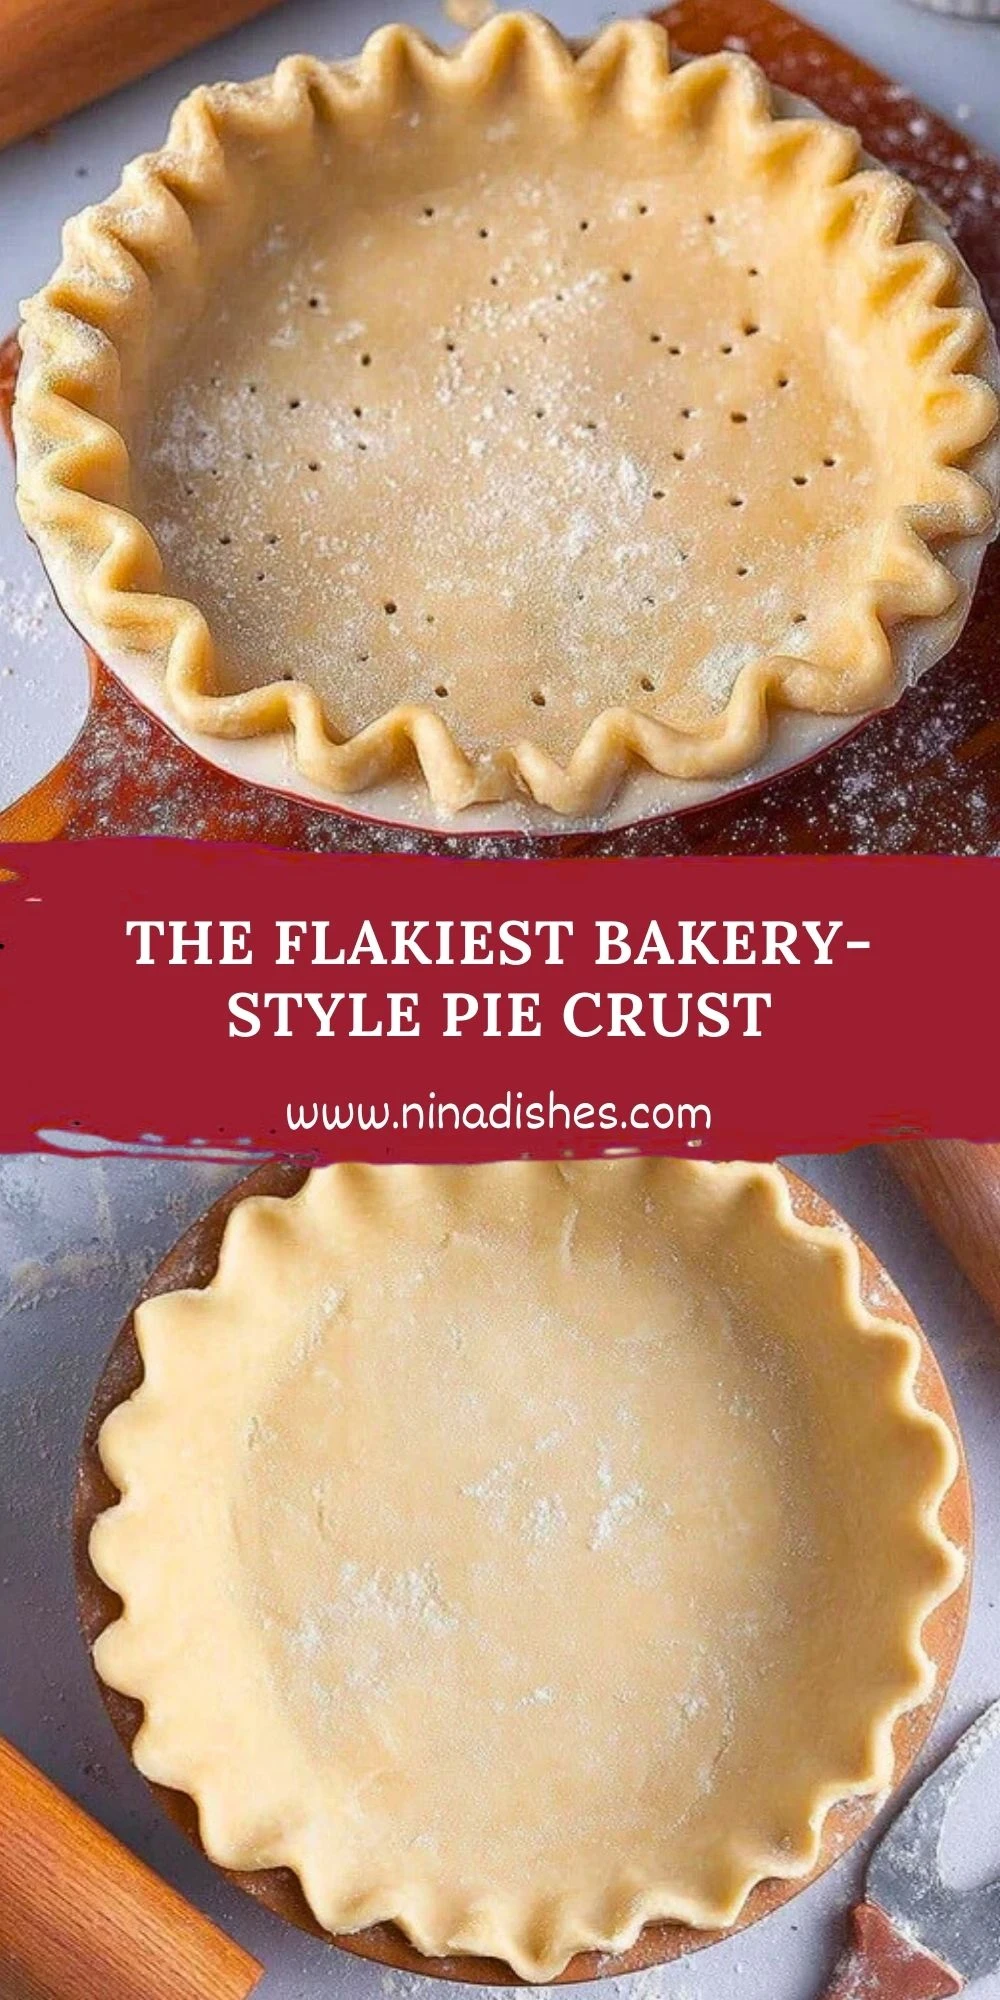
The Flakiest Bakery-Style Pie Crust
- Total Time: 1 hour 15 minutes
- Yield: 2 crusts
Description
This bakery-style pie crust is everything you want in a pastry—ultra flaky, buttery, crisp, and golden. With just a few simple ingredients, you can master a crust that’s perfect for both sweet and savory pies, quiches, and tarts.
Ingredients
2 1/2 cups all-purpose flour
1 teaspoon salt
1 tablespoon sugar
1 cup unsalted butter, cold and cubed
1/2 cup ice water
Instructions
1. In a large bowl, whisk together flour, salt, and sugar.
2. Cut in the cold butter using a pastry cutter or your fingers until you have coarse crumbs with pea-sized bits.
3. Slowly drizzle in ice water, mixing gently with a fork until the dough begins to come together.
4. Turn the dough out onto a floured surface, press together gently, divide in half, and shape into discs.
5. Wrap the discs in plastic wrap and chill in the refrigerator for at least 1 hour.
6. Roll out the dough on a lightly floured surface to fit your pie dish and proceed with your pie recipe.
Notes
For extra flaky layers, use high-fat European-style butter and keep it cold.
Always rest the dough before rolling to prevent shrinking.
Freeze extra dough discs for future pies—they keep well for 3 months.
- Prep Time: 15 minutes
- Cook Time: 0 minutes
- Category: Baking
- Method: Chilled Dough
- Cuisine: American
Nutrition
- Serving Size: 1 slice
- Calories: 280
- Sugar: 1g
- Sodium: 140mg
- Fat: 21g
- Saturated Fat: 13g
- Unsaturated Fat: 7g
- Trans Fat: 0g
- Carbohydrates: 21g
- Fiber: 1g
- Protein: 3g
- Cholesterol: 55mg
Keywords: pie crust, flaky pie crust, all-butter crust, homemade crust