

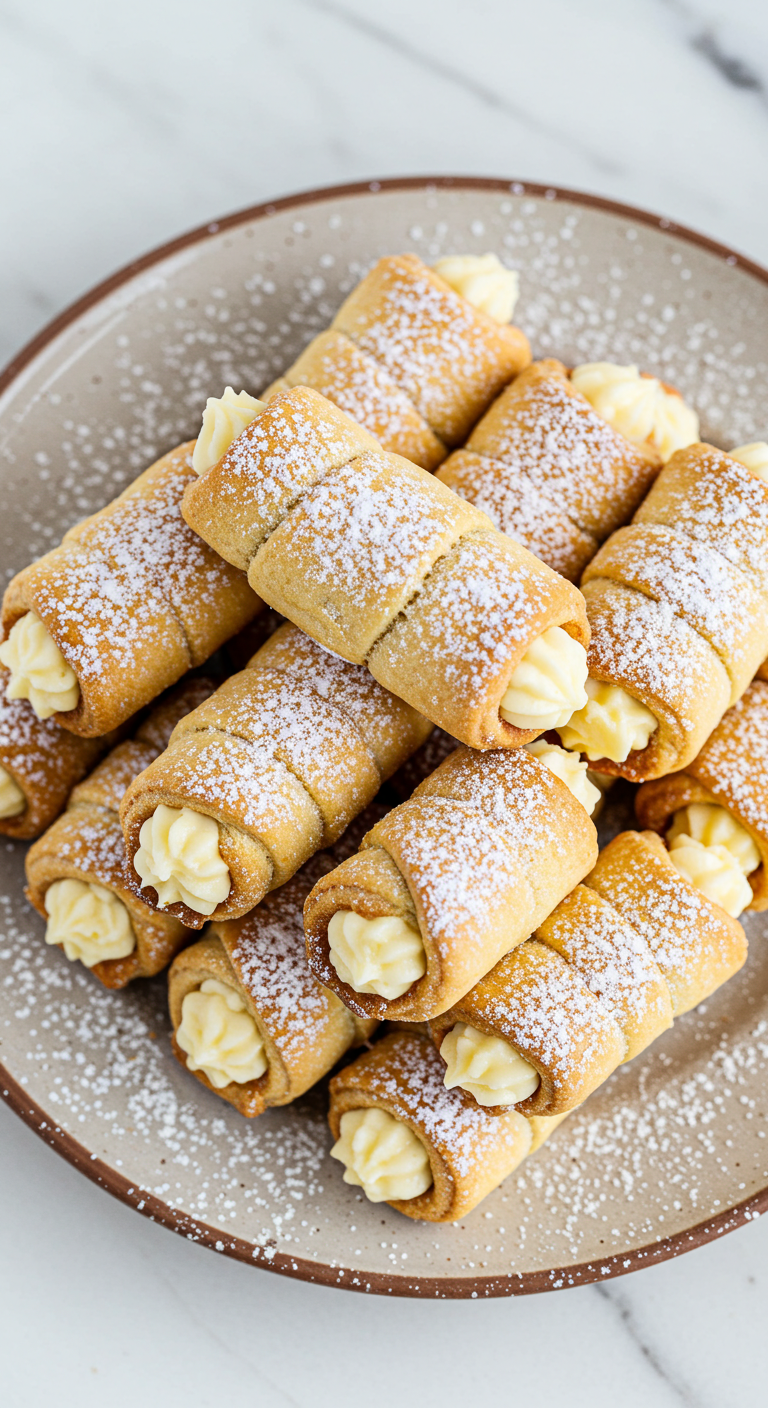

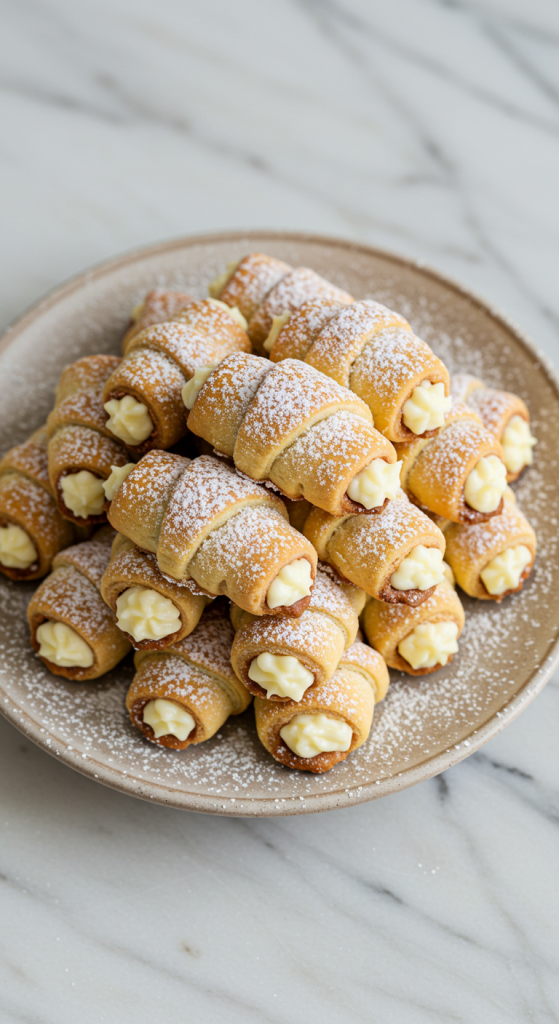
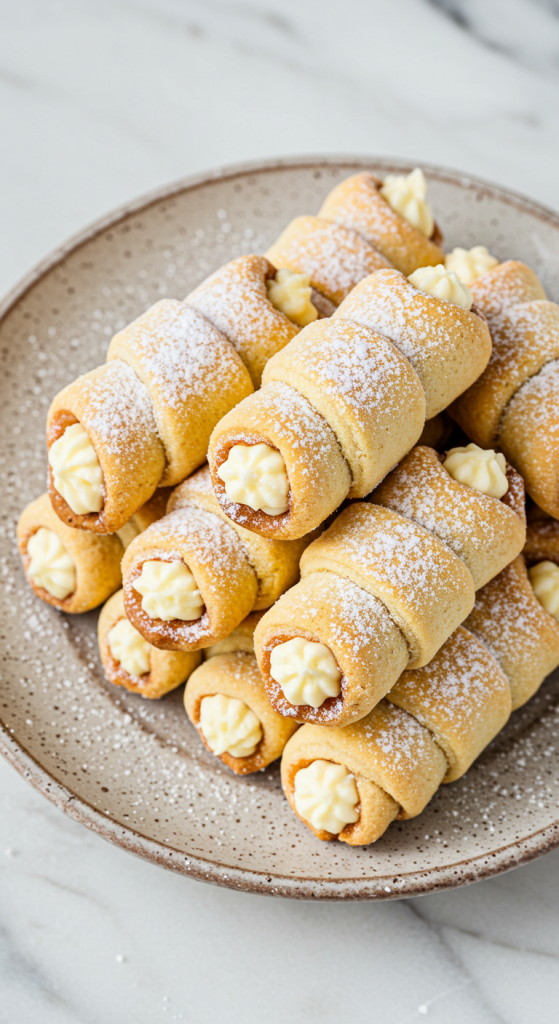
Growing up, one of the most cherished memories I have is helping my grandmother in the kitchen during the holidays. Among all the goodies we prepared, the ones that stood out to me the most were her mini ladylocks. She called them clothespin cookies, and I quickly learned why—the dough was delicately wrapped around metal clothespins, baked to a light golden hue, then filled with the most luscious, creamy filling.
I remember the excitement of gently piping that silky filling into the hollow pastry shells, careful not to crack them. The aroma of freshly baked pastry, the sweet whisper of powdered sugar floating through the air, and the cream that tasted like clouds—I was hooked from the start. Now, every time I bake these, it’s like I’m inviting a piece of my childhood to sit at my kitchen table.
What I love about this recipe is how beautifully nostalgic it is, yet timelessly elegant. These clothespin cookies make every dessert table shine, and they vanish almost instantly when served. Whether it’s a holiday, a baby shower, or just a rainy afternoon with a sweet craving, these little treasures always deliver.

Why You’ll Love This Delightful Clothespin Cookies: Mini Ladylocks Recipe
These cookies are the perfect balance of flaky, buttery pastry and dreamy, whipped cream filling. Their presentation is eye-catching, but they’re not difficult to make—just a bit of patience and a little love go a long way. You can customize the filling with flavors like almond, raspberry, or lemon, making them adaptable for any celebration. Plus, they’re a fun project for the whole family. And if you enjoy elegant finger desserts like my Cherry Chocolate Cheesecake or Irresistible Pecan Pie Bites, these ladylocks will steal your heart just the same.
How to Make Delightful Clothespin Cookies: Mini Ladylocks Recipe
Step 1: Prepare the Pastry Dough
Start with cold butter and flour, combining until the mixture resembles coarse crumbs. Add in egg yolks and a bit of cold water to form a soft, pliable dough. Chill it for at least an hour before rolling out.
Step 2: Shape and Bake the Shells
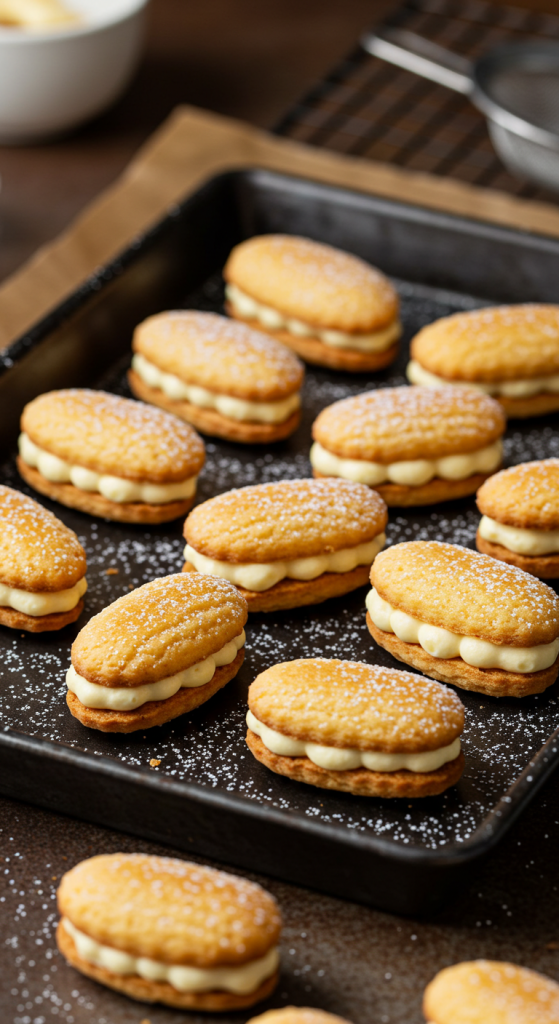
Roll the dough thin and cut it into strips. Wrap each strip around a greased metal clothespin or cream horn mold. Bake until golden and crisp. Allow them to cool completely before gently sliding off the molds.
Step 3: Make the Cream Filling
Whip together marshmallow creme, butter, shortening, and powdered sugar until fluffy. A splash of vanilla or almond extract enhances the flavor. Spoon or pipe the filling into each pastry shell.
Step 4: Finish with Powdered Sugar
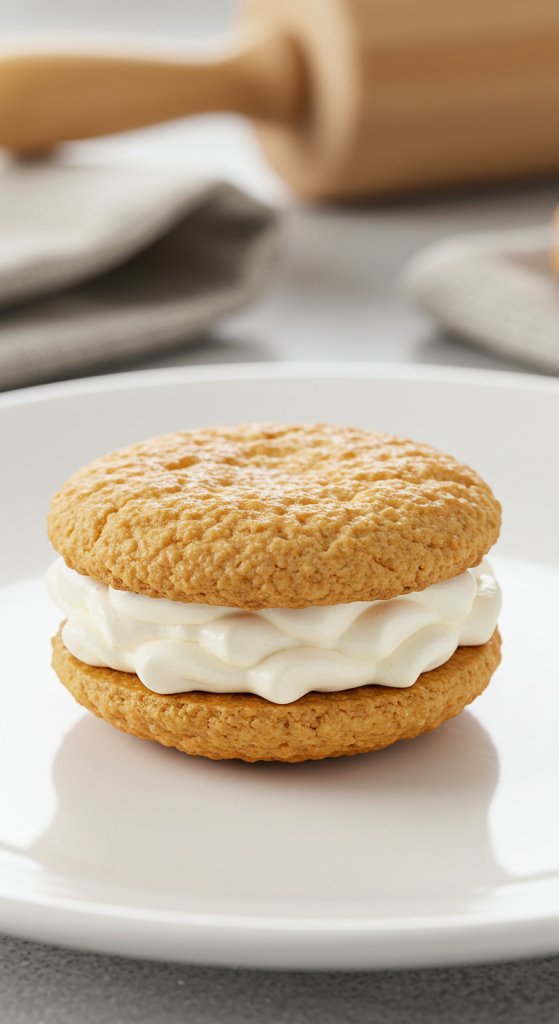
Dust each cookie generously with powdered sugar for a snowy, elegant finish.
Recipe Variations and Possible Substitutions
If you’re in the mood for a twist, try flavoring the cream with a dash of lemon zest or swapping in mascarpone for a slightly tangier filling. For a richer taste, replace half the shortening with cream cheese. Want a festive version? Tint the filling with food coloring or add crushed peppermint for holiday flair. Gluten-free flour blends can work with a little extra moisture, and dairy-free butter substitutes make this treat more inclusive without compromising taste or texture.
Serving and Pairing Suggestions
Serve these delicate cookies as part of a dessert platter alongside fresh berries or chocolate-dipped fruit. They pair wonderfully with a glass of sparkling wine, cappuccino, or even a simple glass of milk. They’re also a lovely companion to creamy desserts like panna cotta or a scoop of vanilla bean ice cream.
You can also wrap them in cellophane and give them as edible gifts during the holidays or at weddings. Arrange them in mini cupcake liners for a more polished presentation at parties.
Storage and Reheating Tips
Store your clothespin cookies in an airtight container in the refrigerator for up to five days. If you’re planning ahead, you can freeze the baked shells (unfilled) for up to three months. Just thaw and fill when you’re ready to serve.
Avoid freezing them with the cream filling already inside, as the texture may change once thawed. If they lose a little of their crispness over time, a brief pass through a 300°F oven for a couple of minutes can refresh them before filling.
Frequently Asked Questions
What can I use if I don’t have metal clothespins?
You can use cream horn molds or even make your own molds by wrapping foil around a thick pencil or wooden spoon handle.
Can I make these cookies ahead of time?
Absolutely! You can bake the shells up to 3 days in advance and store them in an airtight container until ready to fill.
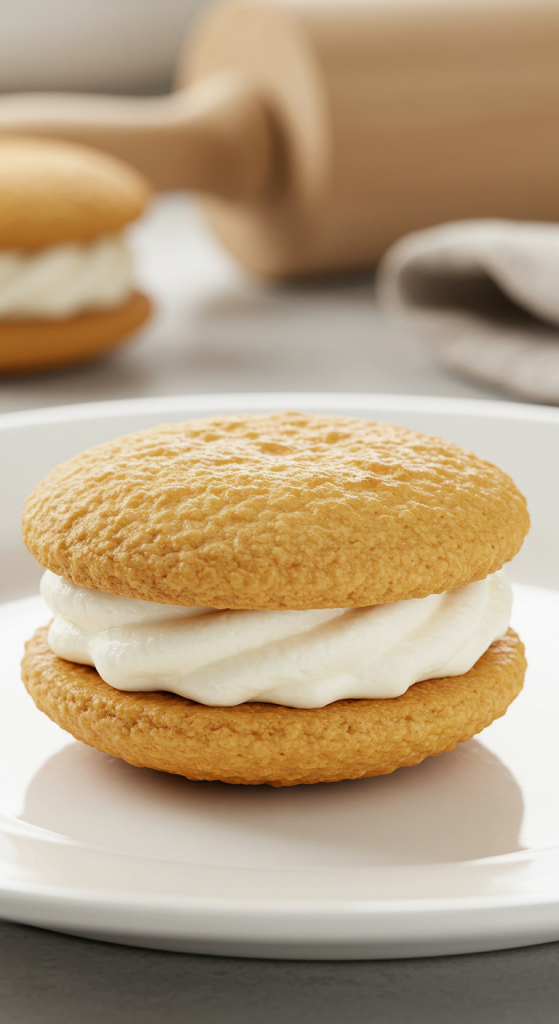
What kind of filling works best?
The classic marshmallow-buttercream mix is delicious, but you can also try sweetened whipped cream, mascarpone-based cream, or even chocolate mousse.
How do I prevent the shells from sticking?
Be sure to grease the molds well before wrapping the dough. You can use cooking spray or lightly butter each mold.
Can I make this recipe gluten-free?
Yes! Use a 1:1 gluten-free flour blend and add a touch more liquid if the dough feels dry. The results are still flaky and delicious.
Related Recipe You’ll Like
If you’re loving this recipe, be sure to try my Cinnamon Donut Bread for a comforting, spiced treat that pairs beautifully with coffee. For more festive delights, check out the Christmas Maraschino Cherry Shortbread Cookies or whip up a batch of Irresistible Funnel Cake Bites that everyone will devour at your next get-together.
Save and Share This Recipe for Later
Don’t forget to pin this recipe to your favorite dessert board on Pinterest so you can come back to it anytime. If you try it, I’d love to hear what you think—tag me in your photos on social media and share it with your friends and family. Whether it’s a holiday, celebration, or just a day you want something sweet, these clothespin cookies deserve to be shared!
Delightful Clothespin Cookies: Mini Ladylocks Recipe

Delightful Clothespin Cookies, also known as Mini Ladylocks, are flaky pastry rolls filled with a rich and fluffy cream, dusted generously with powdered sugar. These elegant cookies are made by wrapping dough around metal rods, baking to a golden crisp, then filling with a light marshmallow-buttercream blend. Popular at weddings, holidays, and parties, they combine nostalgic charm with irresistible flavor and texture. A perfect make-ahead dessert that's fun to bake and even more delightful to eat.
Ingredients
- 2 cups all-purpose flour
- 1 cup unsalted butter, cold and cubed
- 2 egg yolks
- 1/2 cup cold water
- 1 cup marshmallow creme
- 1/2 cup unsalted butter, softened
- 1/2 cup vegetable shortening
- 2 cups powdered sugar
- 1 tsp vanilla or almond extract
- Powdered sugar for dusting
- Non-stick spray or melted butter (for greasing molds)
Instructions
- In a bowl, cut cold butter into flour until mixture resembles coarse crumbs.
- Mix in egg yolks and cold water until a soft dough forms. Wrap and chill for 1 hour.
- Preheat oven to 375°F (190°C). Roll out dough thinly and cut into 1-inch wide strips.
- Wrap strips around greased clothespins or cream horn molds. Place on baking sheet.
- Bake for 12-15 minutes or until golden. Let cool and gently slide cookies off the molds.
- To make the filling, beat marshmallow creme, softened butter, and shortening until smooth. Add powdered sugar and extract, beating until fluffy.
- Pipe filling into cooled pastry shells using a piping bag.
- Dust with powdered sugar before serving.
Notes
- Make sure the molds are thoroughly greased to avoid sticking.
- Filled cookies should be stored in the refrigerator and are best eaten within 3-4 days.
- You can freeze the unfilled shells for up to 3 months.
- For variety, add lemon zest or food coloring to the cream filling for a seasonal twist.
