


I’ve always had a soft spot for cheesy, crunchy snacks, and Cheez-Its have topped my list since childhood. There’s just something about that sharp cheddar bite and crisp texture that makes them utterly addictive. But once I discovered how easy it is to recreate them from scratch, store-bought just couldn’t compare. The aroma of real cheese baking into golden perfection was all the encouragement I needed to never go back.
Making Homemade Cheez-Its became a ritual in my kitchen. I wanted that same irresistible crunch, but with richer flavor and cleaner ingredients. It took some experimenting with cheese types and dough chilling, but I found my perfect method, and now I can share it with you. These crackers aren’t just a better version of the classic — they’re the best of both worlds: nostalgic and fresh-baked.
Every time I pull a tray from the oven, I marvel at how each little square puffs slightly, developing those signature crispy edges. If you’re a fan of sharp cheddar and crave savory snacks, you’re going to fall hard for these. And if you’re already a fan of my Sopapilla Cheesecake Bars or Candied Jalapeños, you’ll find this one just as unforgettable.
Why You’ll Love This Homemade Cheez-Its Recipe
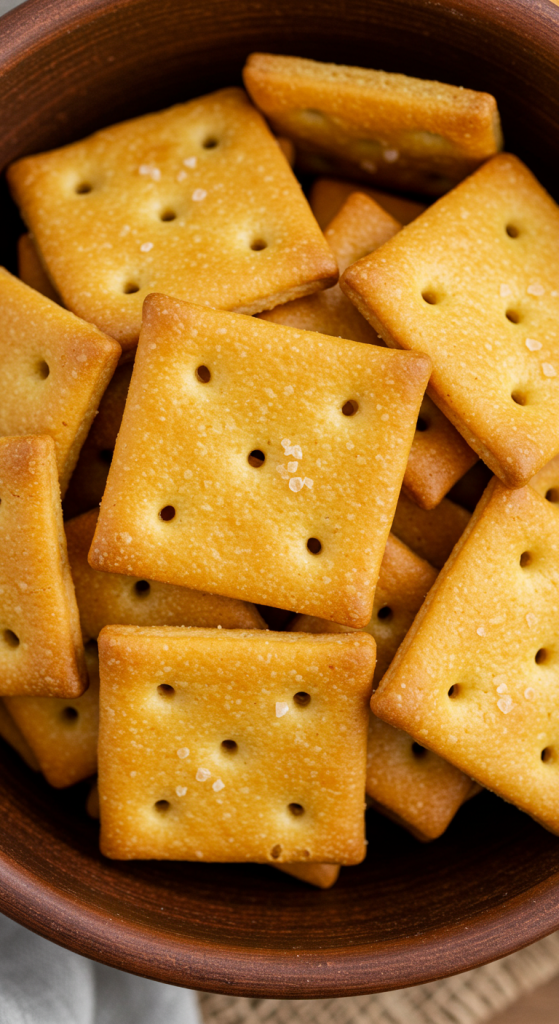
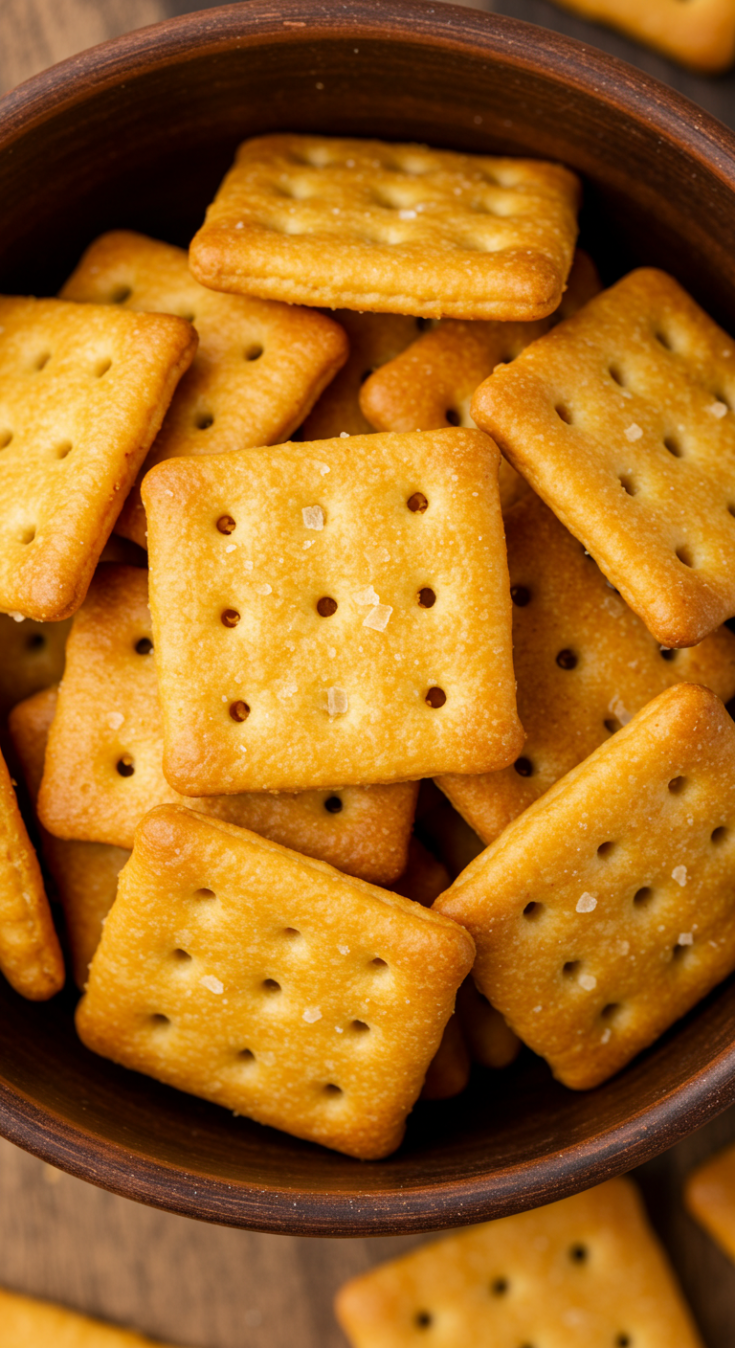
These homemade Cheez-Its are all about flavor and crunch. Made with real, sharp cheddar cheese, they pack a bold taste that the store-bought version can only imitate. They’re baked to a golden crisp and speckled with tiny flakes of sea salt, offering that perfect salty-cheesy harmony in every bite.
You’ll also love how customizable they are. Whether you like them extra salty, a little spicy, or even gluten-free, the base recipe allows for easy tweaks. And let’s not forget the joy of creating a snack that everyone grabs by the handful, knowing it came straight from your oven. Once you taste one, you’ll understand why making them from scratch is worth every step.
How to Make Homemade Cheez-Its
Step 1: Prepare the Dough
Start by shredding 8 ounces of sharp cheddar cheese and letting it come to room temperature. In a food processor, pulse together the cheese, 4 tablespoons of unsalted butter, 1/2 teaspoon of salt, and 1 cup of all-purpose flour until crumbly. Add 2 tablespoons of ice water, one at a time, and continue pulsing until the dough starts to come together.
Step 2: Chill the Dough
Form the dough into a disk, wrap it in plastic, and chill in the refrigerator for at least 1 hour. This step is key to firming the dough for rolling and cutting later.
Step 3: Roll and Cut
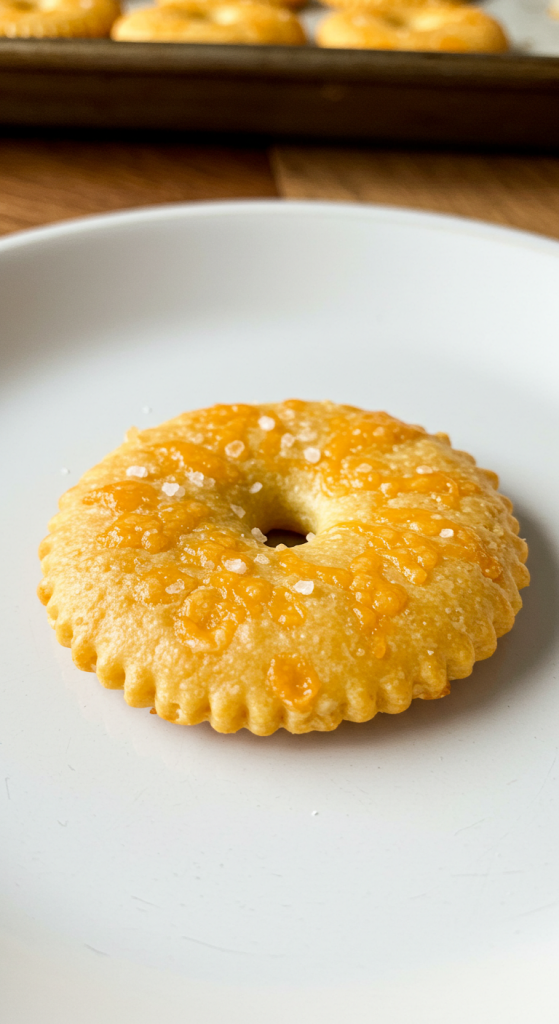
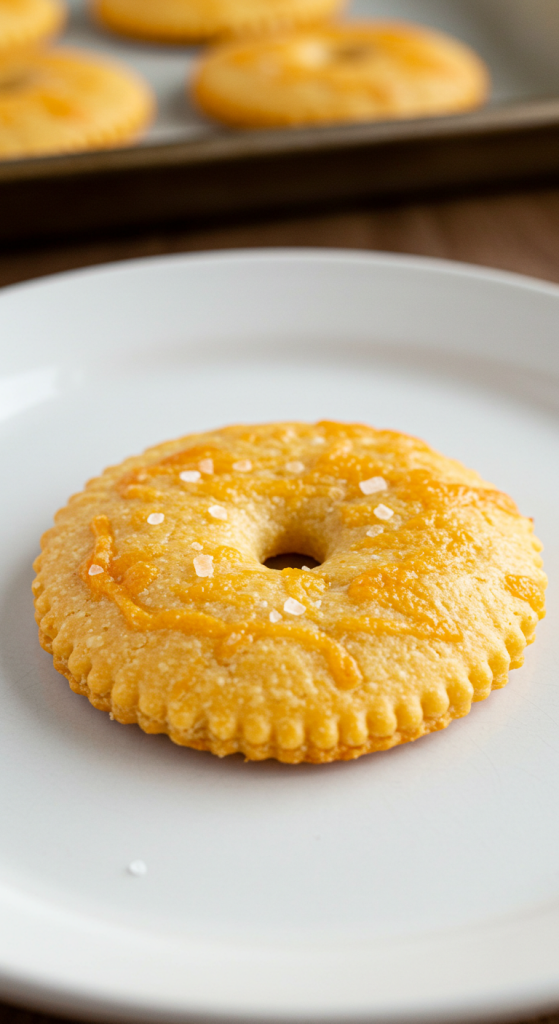
Preheat your oven to 375°F (190°C). On a lightly floured surface, roll the dough out very thin — about 1/8 inch. Using a pastry wheel or knife, cut the dough into 1-inch squares. Use a skewer or chopstick to poke a small hole in the center of each square for that classic Cheez-It look.
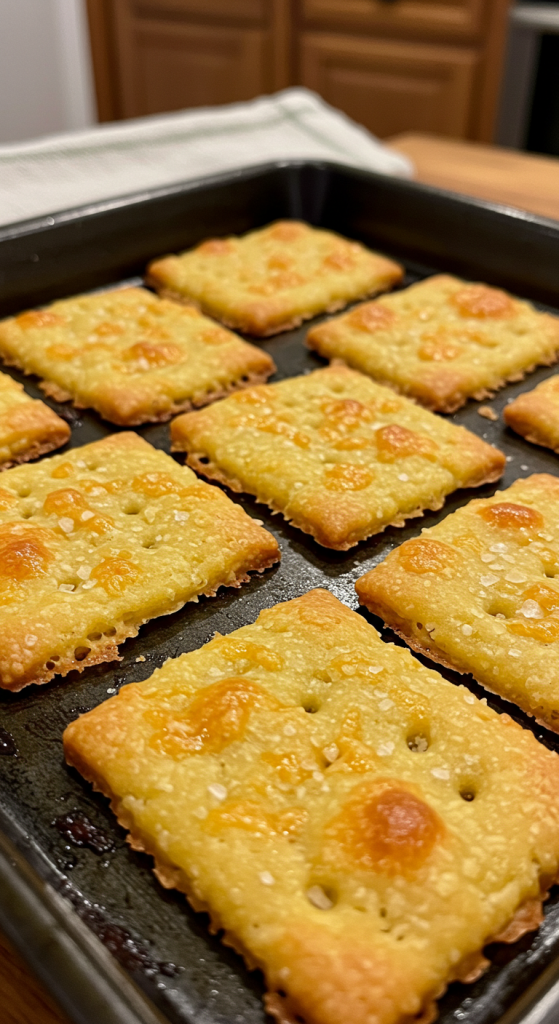
Step 4: Bake Until Golden
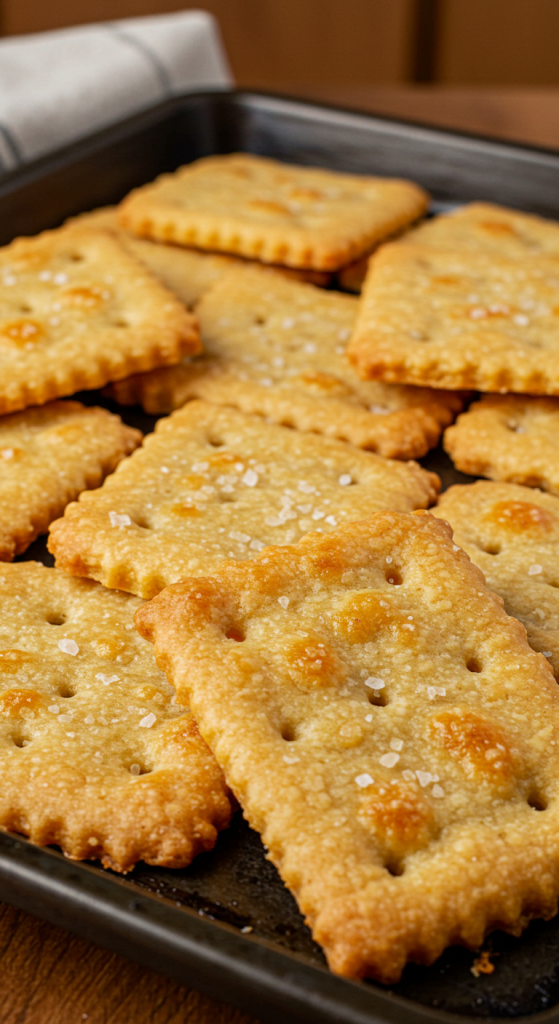
Transfer the squares to a parchment-lined baking sheet. Sprinkle lightly with sea salt if desired. Bake for 14 to 17 minutes, or until golden and puffy. Rotate the tray halfway through baking for even browning.
Step 5: Cool and Enjoy
Let the crackers cool completely on a wire rack. They crisp up even more as they cool, reaching that irresistible crunch we all crave.
Recipe Variations and Possible Substitutions
Want to make these your own? Here are some fun ideas:
Swap the cheese: Use white cheddar, pepper jack, or a blend of parmesan and cheddar for a different flavor twist.
Add spices: Mix in smoked paprika, garlic powder, or cayenne for a bold kick.
Make it gluten-free: Substitute the all-purpose flour with a 1:1 gluten-free flour blend.
Go dairy-free: Use plant-based cheese and vegan butter — just be sure to choose a cheese that melts well.
These homemade crackers are a blank canvas for your flavor imagination.
Serving and Pairing Suggestions
Homemade Cheez-Its are the ultimate snack for just about any occasion. Serve them up in a bowl for game day, movie night, or while entertaining friends. Their salty, cheesy crunch also makes them the perfect accompaniment to a charcuterie board — they hold their own next to salami, grapes, and soft cheeses.
For a fun twist, pair them with a bowl of warm tomato soup or use them as a crunchy topping for mac and cheese. They also make a kid-friendly lunchbox snack that you’ll feel good about.
Storage and Reheating Tips
To keep your Cheez-Its fresh and crisp, store them in an airtight container at room temperature. They’ll stay good for up to a week, though they rarely last that long around here!
If they lose some of their crunch, simply pop them back in a 350°F oven for about 3 to 5 minutes. Let them cool before sealing again — they’ll regain that golden snap in no time.
Frequently Asked Questions
How long can I store homemade Cheez-Its?
You can store them in an airtight container at room temperature for up to 7 days.
Can I freeze the dough?
Absolutely! Wrap the dough tightly and freeze for up to 1 month. Thaw in the fridge before rolling out.
Why do I need to poke holes in the center?
This helps steam escape while baking, preventing the crackers from puffing up too much.
Can I use pre-shredded cheese?
It’s best to grate your own. Pre-shredded cheese often has anti-caking agents that can affect texture.
How can I make them spicier?
Add a pinch of cayenne or chili powder to the dough for a subtle heat that builds with each bite.
Related Recipe You’ll Like
If these Homemade Cheez-Its have won your heart, there are plenty more savory snacks and easy-bake favorites you’ll enjoy from my kitchen. Try the incredibly crispy Cheesy Pizza Bombs — they’re gooey, golden bites filled with melted cheese and pizza sauce that make snack time feel like a celebration.
Or dive into something sweet with Irresistible Funnel Cake Bites — light, sugary, and perfect for fairs at home. For a satisfying side, the Mexican Potatoes deliver bold flavor with a crispy finish. These recipes are all designed to complement the joy of making food from scratch, just like these crackers.
Save and Share This Homemade Cheez-Its Recipe for Later
If this recipe made your taste buds dance, don’t keep it to yourself! Pin it on your favorite Pinterest board so you always have it at your fingertips. Share it with your friends and family on social media, email it to a fellow cheese-lover, or bookmark it in your favorite recipe folder. There’s nothing more satisfying than introducing someone to a homemade version of their favorite snack.
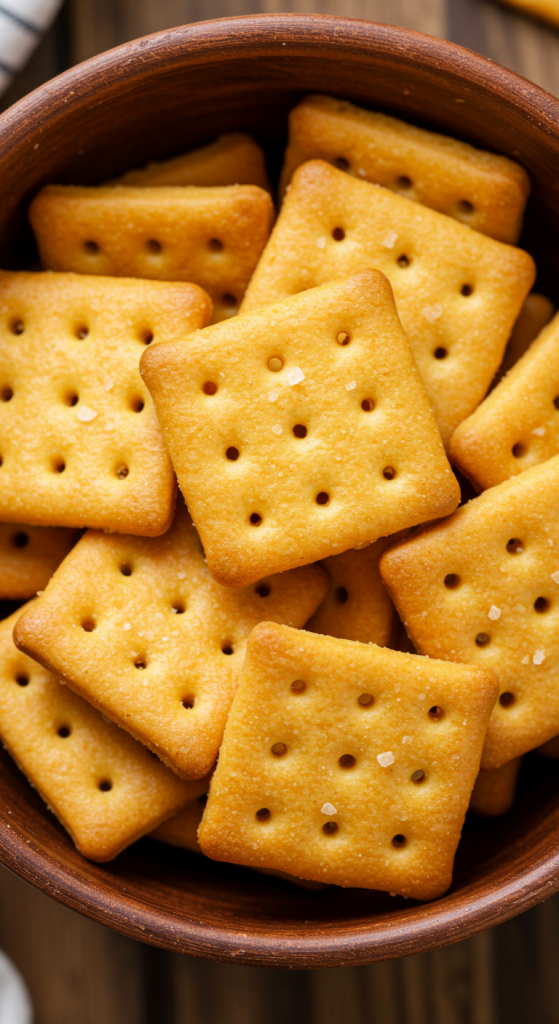
Homemade Cheez-Its
Homemade Cheez-Its are a crunchy, cheesy snack made with real sharp cheddar cheese and simple pantry staples. These baked crackers are golden, buttery, and packed with flavor in every bite. Perfect for snacking, lunch boxes, or party platters, this easy recipe lets you recreate a classic favorite without preservatives or artificial flavors. Customizable with spices, gluten-free swaps, and cheese variations, these crackers offer both nostalgia and wholesome, made-from-scratch goodness.
Ingredients
- 8 oz sharp cheddar cheese, shredded and room temperature
- 4 tbsp unsalted butter, room temperature
- 1/2 tsp salt
- 1 cup all-purpose flour
- 2 tbsp ice water
- Sea salt for topping (optional)
Instructions
- In a food processor, pulse together the shredded cheddar, butter, salt, and flour until crumbly.
- Add the ice water, one tablespoon at a time, pulsing until the dough starts to form.
- Shape dough into a disk, wrap in plastic, and chill in the refrigerator for at least 1 hour.
- Preheat oven to 375°F (190°C).
- On a floured surface, roll dough to about 1/8 inch thickness.
- Cut dough into 1-inch squares and poke a hole in the center of each with a skewer.
- Place squares on a parchment-lined baking sheet and sprinkle with sea salt if using.
- Bake for 14–17 minutes, rotating the sheet halfway, until golden and puffy.
- Cool completely on a wire rack. Store in an airtight container.
Notes
- Grating your own cheese improves texture and flavor.
- Adjust spices or cheese blends to suit your taste.
- For a crispier cracker, bake slightly longer but watch carefully to avoid burning.
- Re-crisp soft crackers in a hot oven for a few minutes.
